Bathroom waterproofing: the invisible layer that protects you and your neighbours
Exactly where waterproofing goes in a bathroom, which details make all the difference, and how it is tested before the tiles go on.
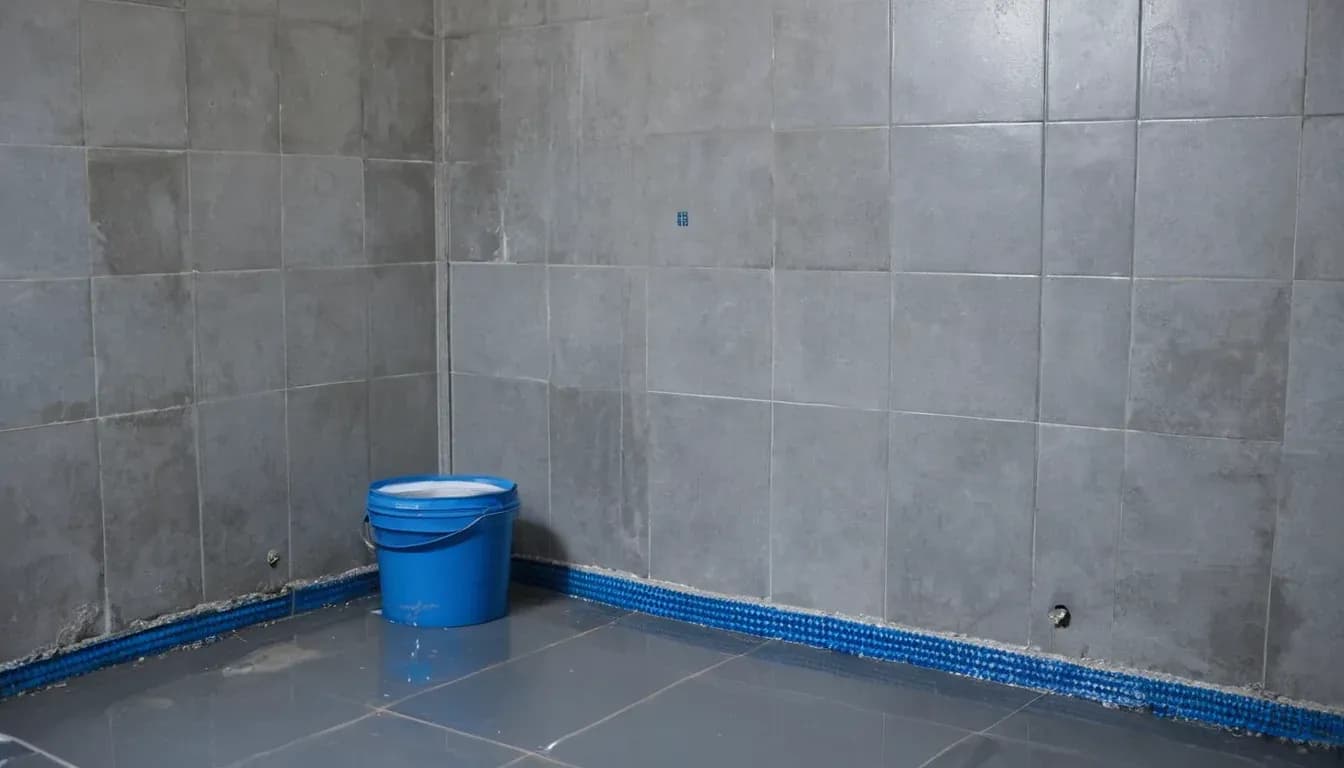
The tiles, taps and furniture are what you see in a bathroom. But whether the bathroom will serve you without problems for years to come is decided by a layer you will never see – the waterproofing. It sits beneath the tiles and stops the water that sooner or later gets through the grout. Without it, moisture reaches the screed, the walls and the ceiling of the neighbours below.
Why grout is not enough protection
Tiles don’t let water through, but the grout joints between them and the junctions around pipes, drains and corners do. Over time, water seeps through them – slowly and unnoticed. By the time the stain on the ceiling below becomes visible, the repair usually means taking the tiles off. That is why waterproofing is not an extra but a fundamental part of every bathroom renovation.
Where it goes
- Across the whole bathroom floor, turned up onto the walls.
- In the shower or bath area – on the walls, to a little above the height that splashes reach.
- Around all pipe outlets and around the floor drain (gully).
- In front of the door – so that water doesn’t escape into the hallway.
The details that make all the difference
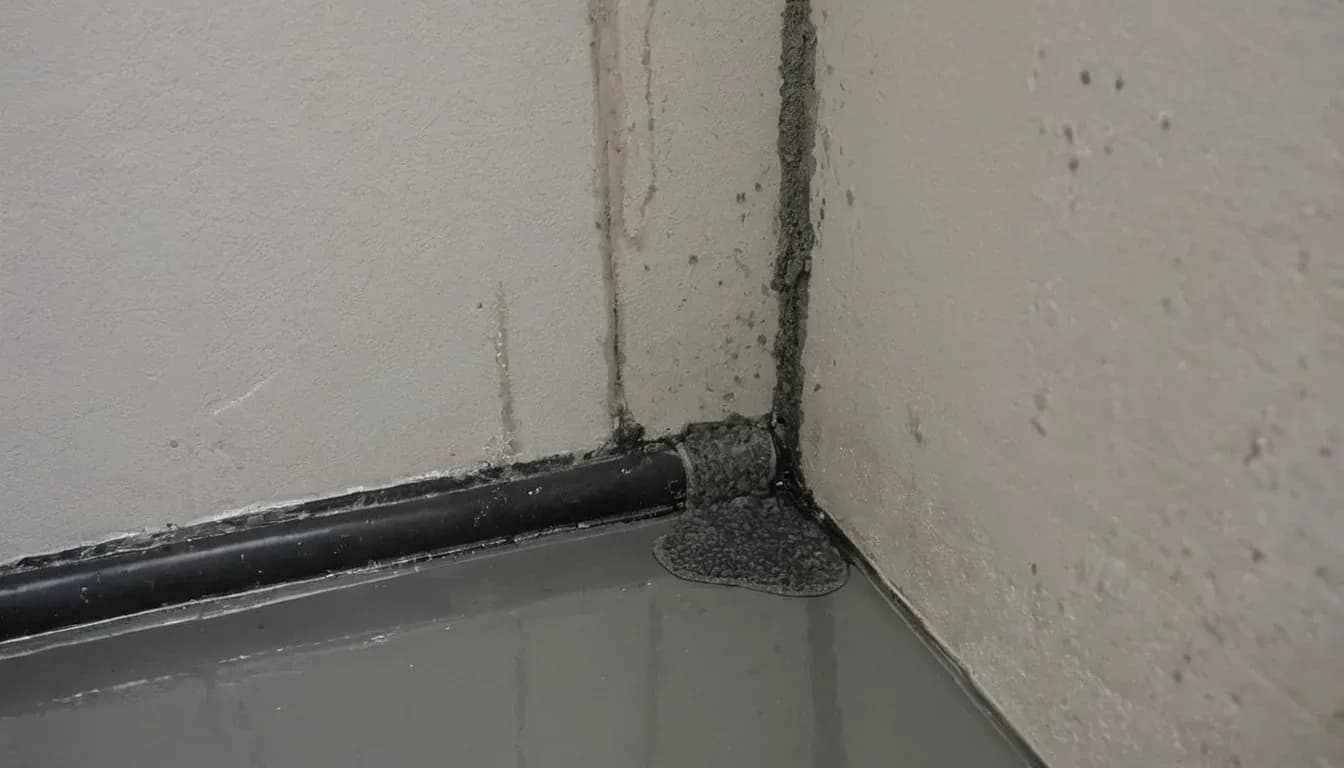
Most leaks don’t come from the middle of the floor but from the junctions. That is why waterproofing tape and sealing collars are embedded in the waterproofing at the corners between the walls and the floor, in the corners between walls and around the pipes. A special sealing element is used around the floor drain. A missed corner or collar is the most common cause of leaks in waterproofing that has otherwise ‘been done’.
How it is done
- Preparing the substrate – level, sound and free of dust; if needed, a new screed laid to a fall towards the drain.
- Primer, according to the manufacturer’s system.
- Tape and collars at the corners, joints and around the pipes.
- The waterproofing itself – usually in two coats applied crosswise, with a wait between them as the instructions specify.
- Drying – no rushing: tiles laid on waterproofing that has not fully dried make all that work pointless.
The water test
Before tiling, the floor can be tested: a temporary barrier is built at the threshold, the drain is plugged and a thin layer of water is poured into the bathroom and left to stand. If, after the test, there are no signs of moisture below or on the walls, tiling can go ahead. It takes a little time in the schedule and saves a big risk.
Common mistakes
- Waterproofing only in the shower, not across the whole bathroom floor.
- Missing tape in the corners and missing collars around the pipes.
- A coat that is too thin, or only a single coat.
- Laying tiles before the waterproofing has dried.
- Drilling through the waterproofing to fit accessories without sealing the hole.
When you get a quote for a bathroom – from us or from another contractor – check whether the waterproofing is described separately: where it goes, whether it includes tape and collars, and how many coats. If you are planning a bathroom renovation, book a site visit and you will get a clear outline of the scope, timeline and price.
More articles
All articles Bathroom
3 min read
Bathroom renovation in Sofia: cost and process
What drives the cost of a bathroom renovation in Sofia and how the process unfolds – from strip-out and waterproofing to final installation. The exact figures come after a site visit.
Read Bathroom
7 min read
10 modern design ideas for a small bathroom
A small bathroom is often a challenge for apartment owners in Bulgaria, especially when the space is limited to 2–6 square metres. Despite its size, a well-designed bathroom can be functional, stylish and cosy all at once. In 2025, modern bathroom design trends emphasise the smart use of space, durable materials and an aesthetic that creates a sense of space and relaxation.
Read Bathroom
6 min read
The 5 biggest bathroom renovation mistakes (and how to avoid them)
Renovating a bathroom is like walking into a jungle without a map – exciting, but full of traps. It is one of the most complex jobs in the home, because it brings plumbing, electrics, waterproofing and design together in a confined space. According to HomeAdvisor, the average cost of a bathroom renovation in 2024 was between BGN 7,000 and BGN 30,000…
Read