New apartment handover: a checklist before the renovation
A checklist for taking over a new apartment: documents, walls, connection points, the panel, ventilation, windows, risers and damp – and who fixes what.
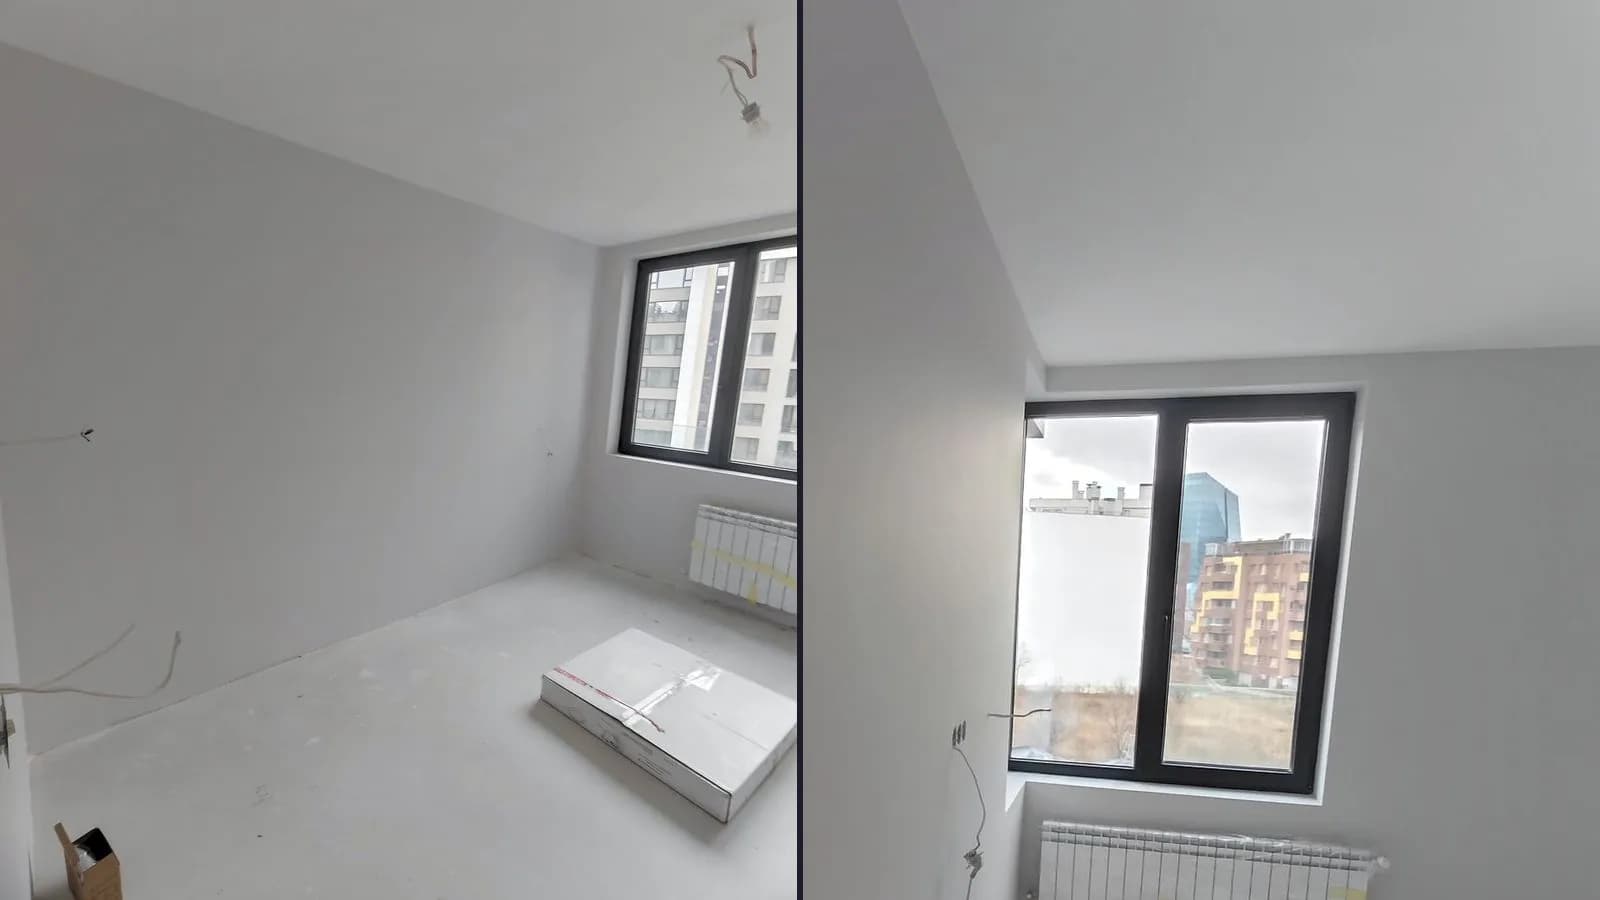
Taking over a new apartment is the last moment when it is easy to see – and prove – what is a defect of the building. Whatever you note down and photograph at the handover remains the developer’s job. Whatever the skim coat, tiles and flooring cover up is hard to prove later – and fixing it becomes part of your renovation.
By ‘developer’ we mean the company that hands the apartment over to you under your contract – the investor or the seller. The checklist below is not legal advice: the contract, the notary deed and the payments are questions for the notary or a lawyer. What comes after the handover is covered in our article on new-build home renovation.
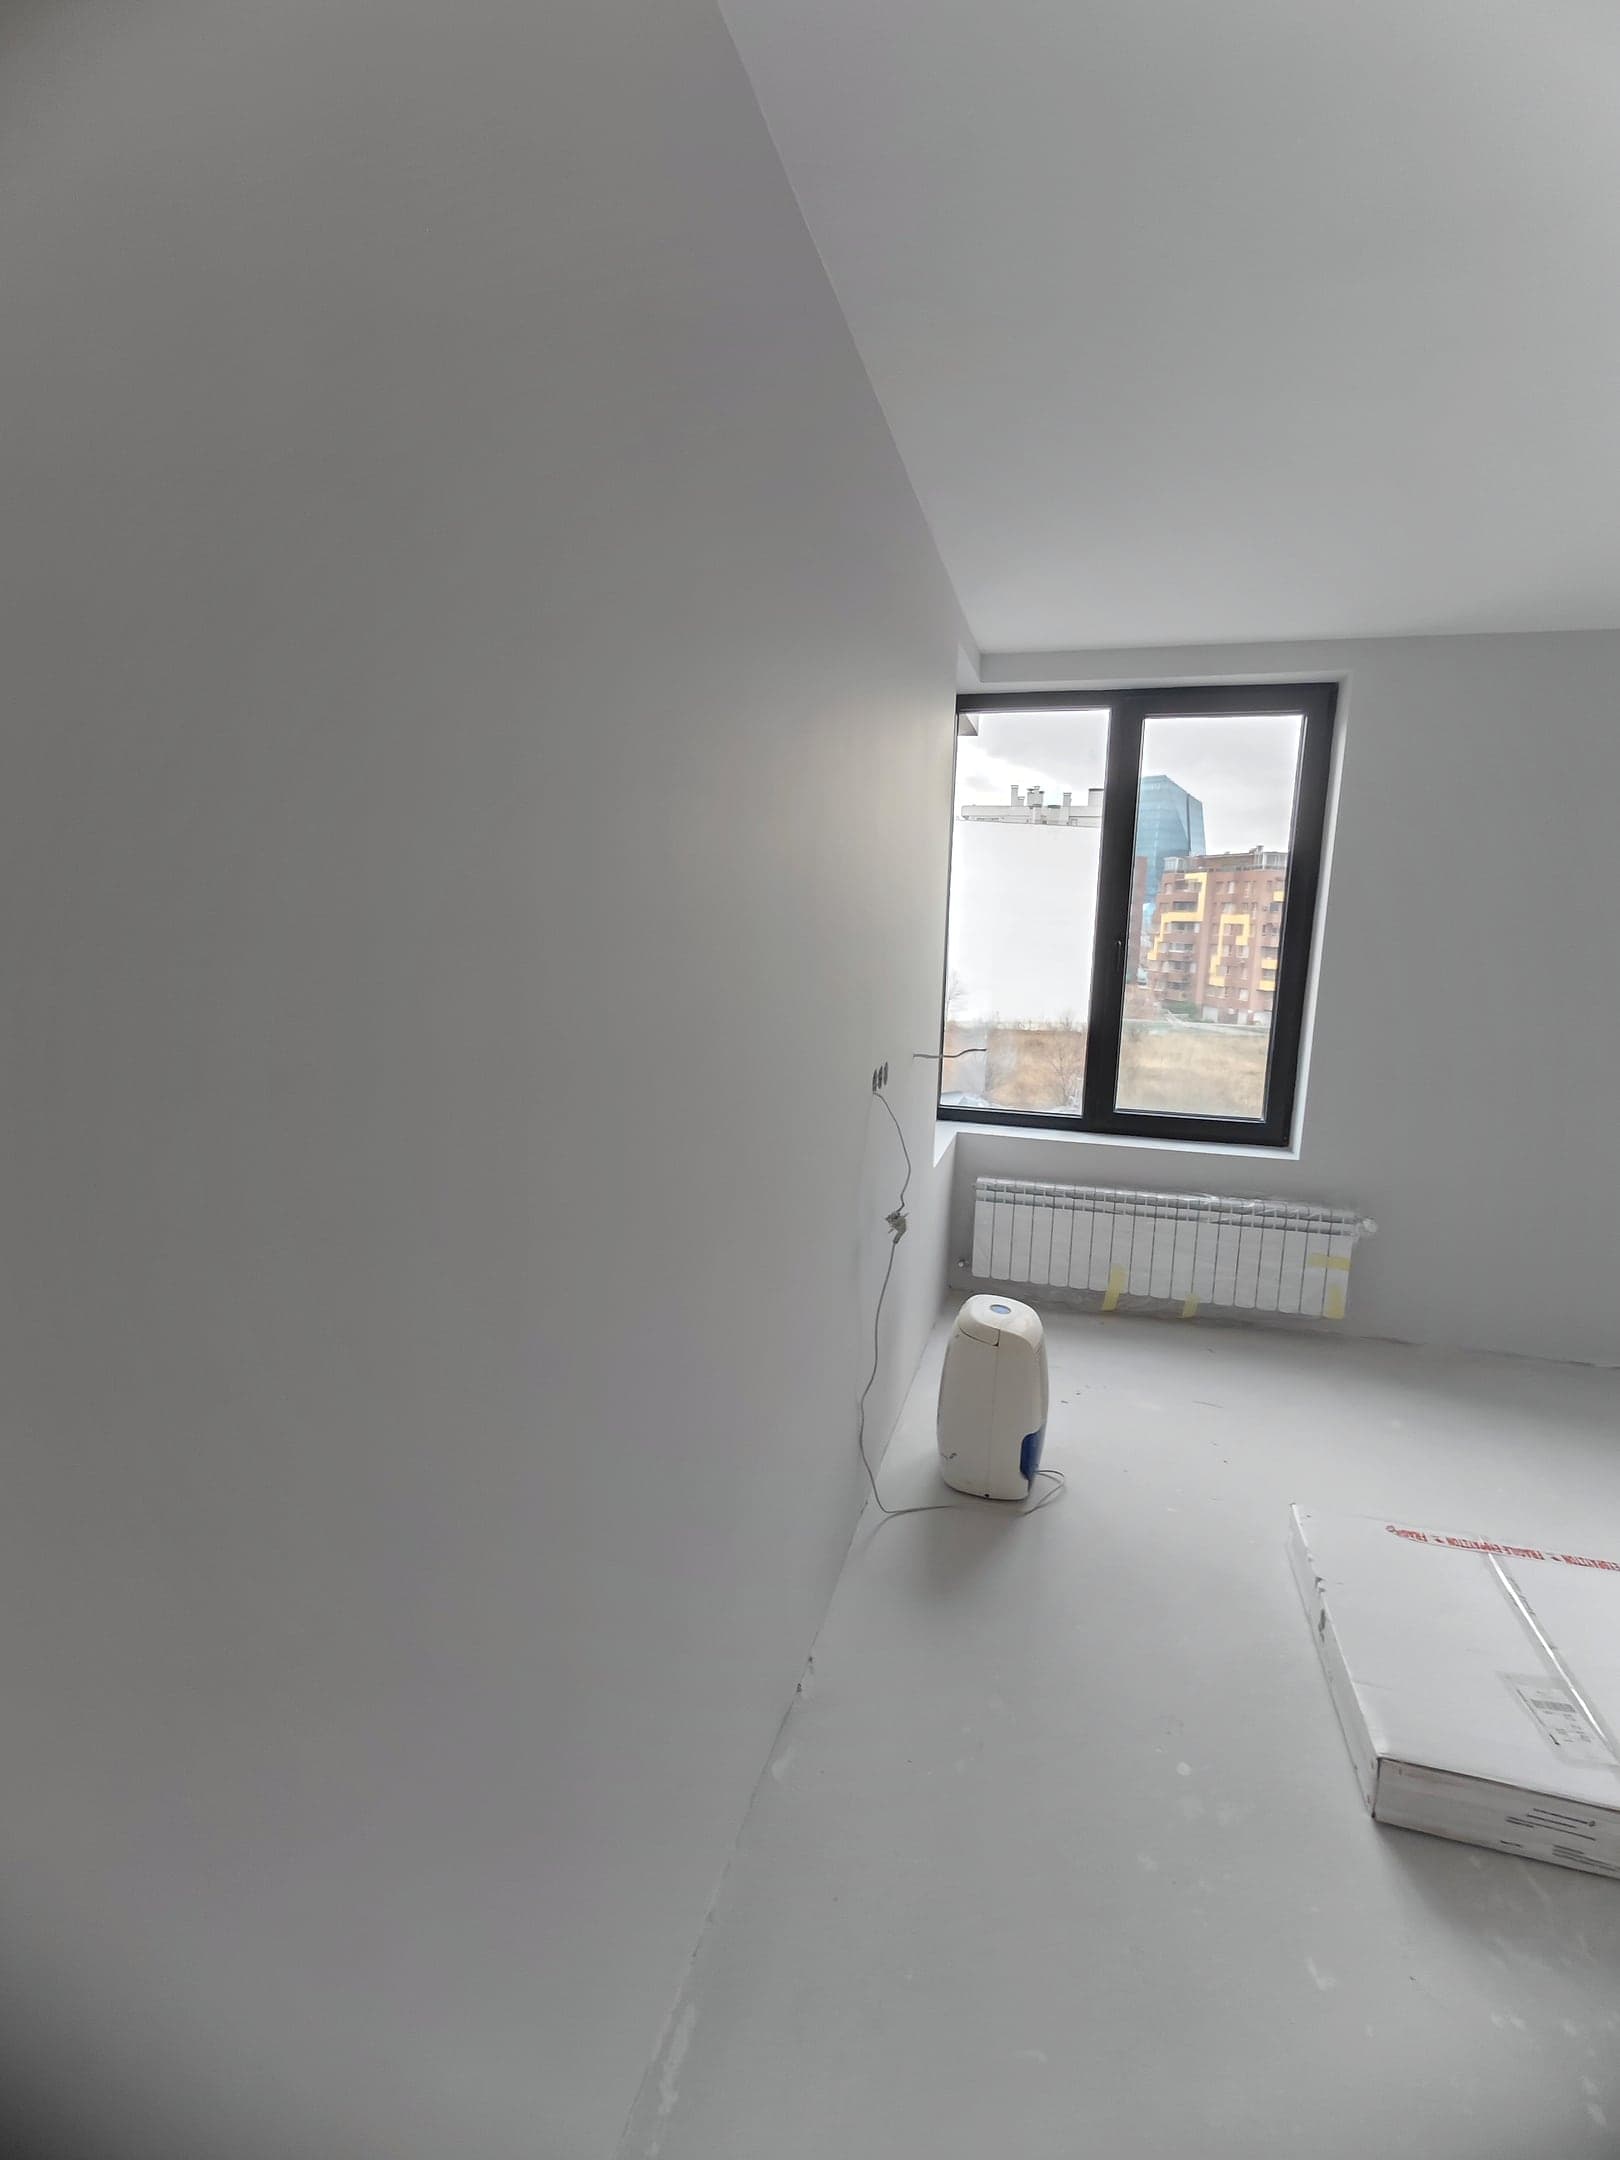 Before
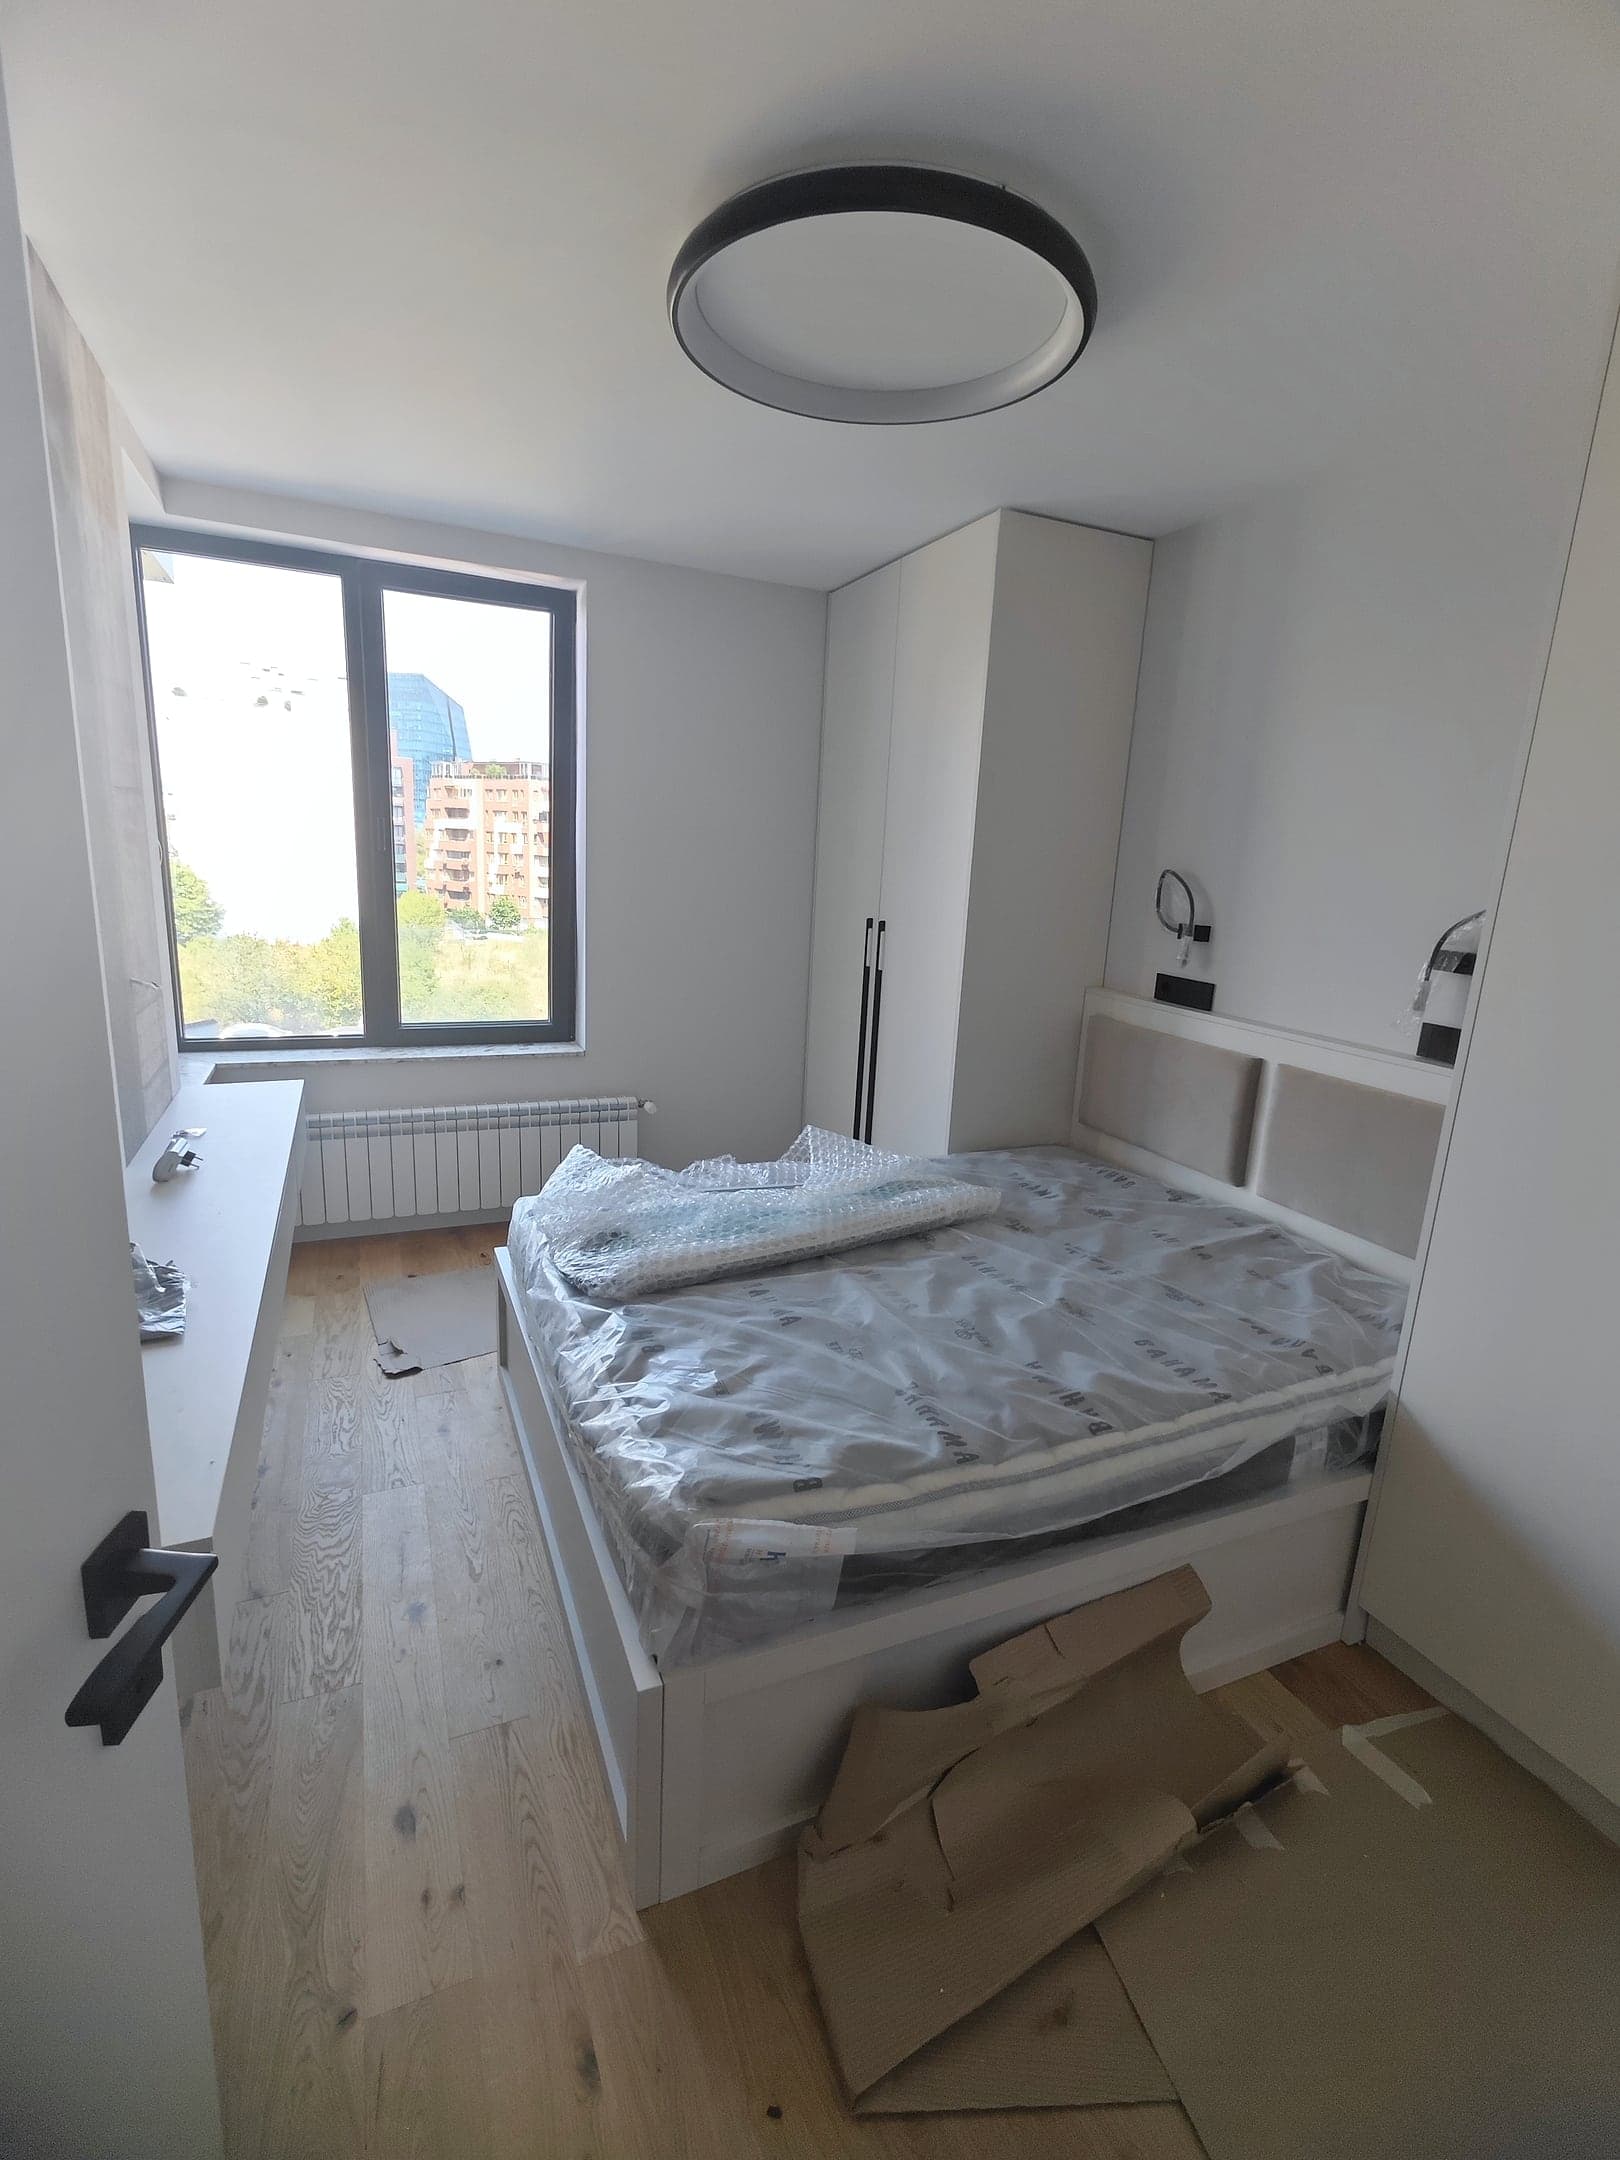 After
The photos are from our new-build apartment renovation project, photographed from the bare walls to the end of the finishing work.
Documents: what to ask for
The first question is whether the building has been put into use – in everyday Bulgarian, whether it ‘has Act 16’ (Akt 16). For many new residential buildings the document is a use permit issued by the DNSK (the Directorate for National Construction Control) on the basis of a Form 16 protocol drawn up by a state acceptance commission – hence the name. Ask the seller which document put the building into use and ask for a copy; what it means for the purchase or a mortgage is a question for the notary or a lawyer.
Also ask for:
- The contract with the description of the apartment – the condition it is handed over in, for example ‘skim coat and screed’, and the specification of the windows, door, radiators and connection points. This is what you compare against what you see.
- The drawings – the floor plan and the electrical and plumbing layouts. You check the connection points against them, and during the renovation they show where the cables and pipes run.
- The handover protocol for the defects – with a copy for you, signed by both sides.
- The instructions and warranty cards for the windows, door, radiators and intercom, if there are any, and the keys – with their number written in the protocol.
What to bring to the inspection
You do not need special equipment. Come during the day and do not rush: anything you miss now is something you will have to prove later.
- A straightedge – aluminium, about 2 m long – and a tape measure.
- A spirit level or a laser level, if you have one.
- A torch: light shone along the wall from the side shows up any waves.
- A printed floor plan and a pen – to number the defects.
- A phone charger or a small lamp – for the sockets, if they are fitted and the power is on.
Checklist: what to check and how
Go through the apartment room by room, following the same order in each one. Every defect gets a number on the plan, a photo and a line in the protocol.
- Walls and ceilings. Hold the straightedge horizontally, vertically and diagonally in several places and look at the gap between it and the wall; check the corners too. How much unevenness is acceptable depends on the contract and on what goes on top: large tiles and wallpaper need a flatter base than paint.
- Cracks and stains. Look at the walls and ceilings with a torch held to the side; every crack and every stain gets a number and a photo. Whether a crack is only in the plaster is for the developer to assess – and, if in doubt, a structural engineer.
- The floor. Use the straightedge and the level to see whether the screed is flat and whether the floor is at the same level between the rooms and at the balcony door – this decides whether parquet and large tiles can go down without levelling.
- Plumbing points and water meters. Check the connection points against the drawing – for the basins, the toilet, the shower or bath, the washing machine and the dishwasher. See whether they are capped and dry, and whether there is construction debris in the waste pipes. Can you reach the water meters and the stopcock, and does the stopcock shut off the water?
- Electrical points and the panel. Count the back boxes for sockets and switches, as well as the light points, and check them against the drawing, together with the separate circuits for the oven, the hob, the water heater, the washing machine and the air conditioners. See whether the panel has a cover and whether the breakers are labelled. If the sockets are fitted and the power is on, try them.
- Ventilation. How are the bathrooms, the toilet and the kitchen ventilated – an opening to a shaft or a duct for a fan – and are the openings clear? A sheet of toilet paper held in front of the opening is drawn towards it if the shaft is pulling air. Ask where the outlet for the cooker hood is, too.
- Windows and balcony doors. Open and close every sash in every mode. Check the seals, the hardware, the glass, the frames, the joint with the wall and the window sills. Stains below a window may mean that water is getting in.
- The risers and access panels. The risers – the vertical water and waste pipes – are, as a rule, part of the building’s common property. See whether you can get to them through an access panel: to the stopcocks and water meters, if they are there, and to the cleanout on the waste pipe, if there is one on your floor. A shaft with no opening is a point for the protocol.
- Damp. Stains, mould, white salt marks and condensation – on the glass, in the corners next to the facade, on the ceilings under terraces and under the roof. Pour a little water on the balcony and see whether it runs towards the drain. Mould may come from construction moisture, but also from a leak – which is why it is recorded before anyone paints over it.
- Radiators and the front door. The radiators – as per the design and with no signs of leaks; if the heating is on, do they warm up? The door – locking, the seal, any damage, the keys; the intercom and doorbell, if they are connected.
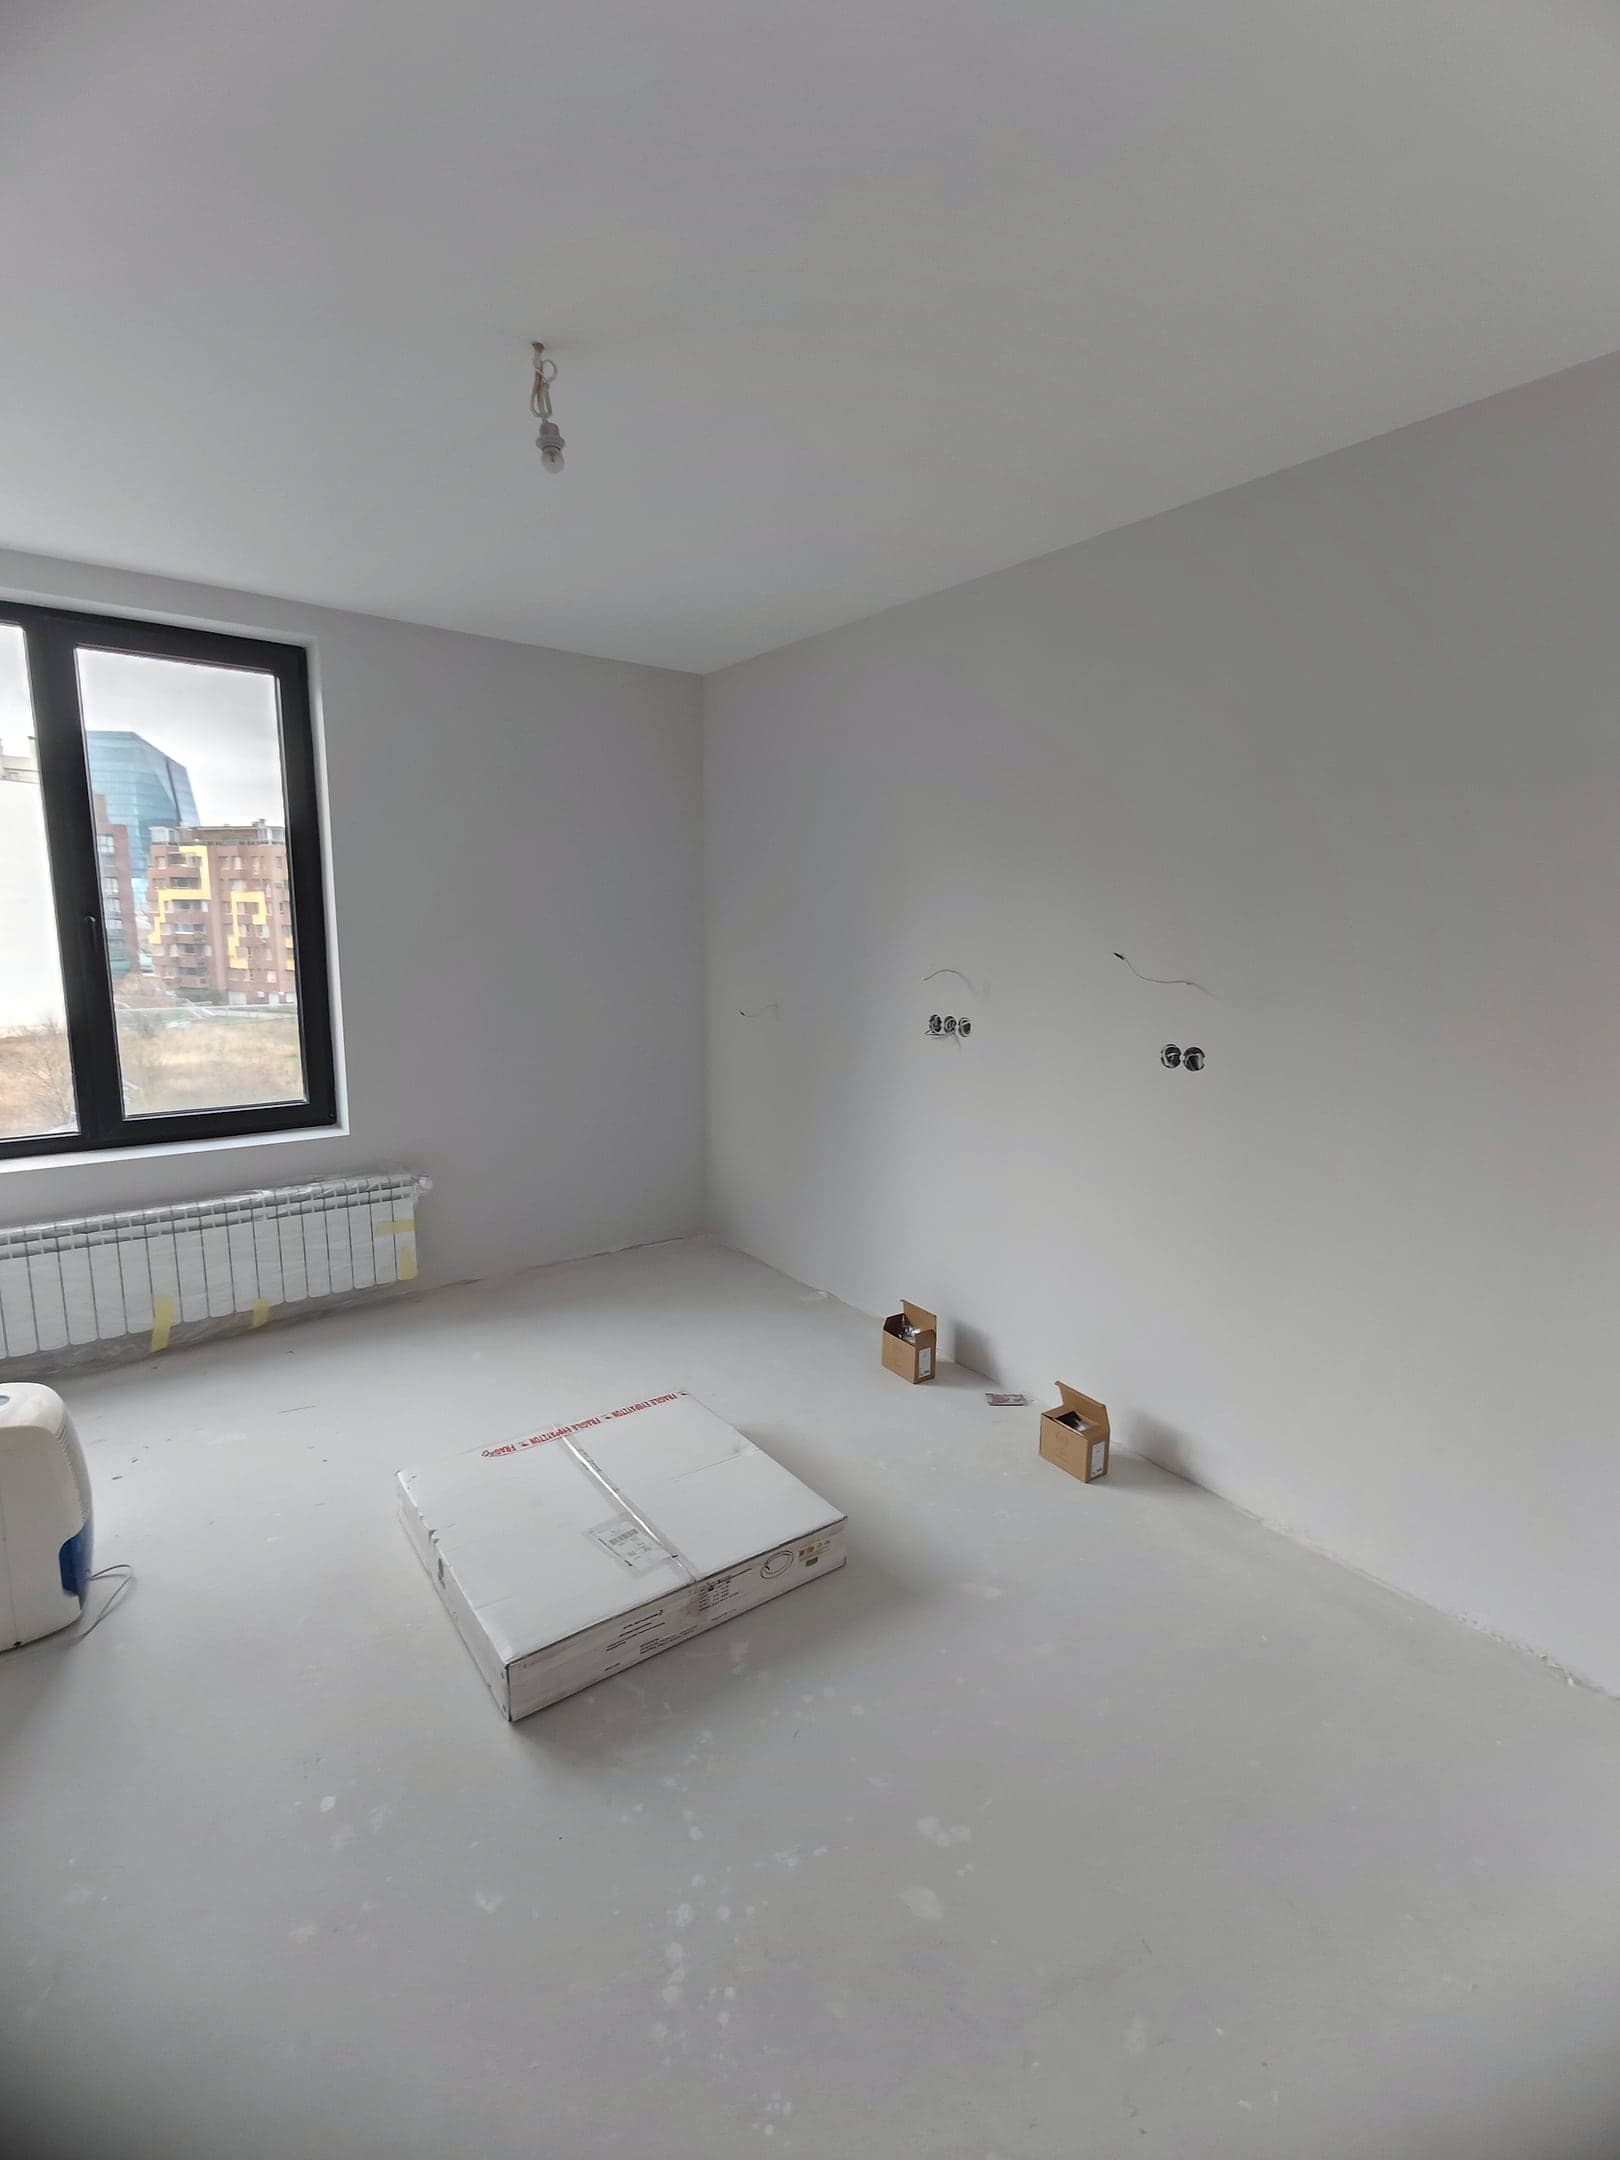
Photograph everything
The photos are your evidence of the condition at handover and working material for the renovation:
- In each room – a wide shot from the doorway, then each wall, the ceiling and the floor.
- Every defect – close up and from a distance, with the tape measure or the straightedge in the shot.
- Every connection point – with a tape measure next to it: the height from the floor and the distance to the corner. You will need these photos for the kitchen and the furniture as well.
- The water meters, the electricity meter and any heat meters – showing the readings; the windows and doors – in a short video.
- The same number for each defect – in the protocol, on the plan and in the name of the photo.
- Send the photos to the seller by email together with the protocol and keep the originals. That way there is a record of what you showed them.
What the developer fixes and what goes into the renovation
The yardstick is the contract. Anything that does not match it or the drawings, is damaged or does not work is for the developer and goes into the protocol. Anything that matches it but that you want done differently – more sockets, a different layout, flatter walls for wallpaper or large tiles – goes into the renovation and its quote.
| What you check | How | Who fixes it |
|---|---|---|
| Flatness of walls and ceilings | Straightedge in three directions, a torch from the side | The developer, if they do not match the contract; flatter for wallpaper or large tiles – the renovation |
| Cracks | A torch from the side, a photo with a tape measure | The developer; if in doubt – a structural engineer |
| Floor and levels between rooms | Straightedge and spirit level | The developer, if it does not match the contract; levelling for parquet or large tiles – the renovation |
| Plumbing points and water meters | Drawing, caps, signs of water, stopcock | The developer – missing points and leaks; moving points at your request – the renovation |
| Electrical points and panel | Drawing, number and positions, labels in the panel | The developer – anything missing from the design; new points and circuits – the renovation |
| Ventilation | Clear openings, a sheet of paper | The developer – blocked or missing openings; a fan and the cooker hood – the renovation |
| Windows and balcony doors | Every sash, seals, glass, joint with the wall | The developer |
| Risers and access panels | Access to the stopcocks, water meters and cleanout | The developer, if there is no access; in the renovation, access is kept with an access panel |
| Damp and mould | Stains, corners, ceilings under terraces, water on the terrace | The developer – the cause; the renovation – once the cause has been dealt with |
| Radiators | Valves, connections, warming up | The developer |
| Front door and keys | Locking, seal, damage, number of keys | The developer |
The defects in the protocol are the basis for asking for repairs – write the deadline you agree for the repairs into it as well. For defects that come to light later, your rights depend on the contract and the law; if there is a dispute, get advice from a lawyer. And do not cover up anything the developer has yet to fix: a crack or a leak stain under a fresh skim coat is hard to prove later.
After the handover: the order up to the renovation
The sequence for renovating a new-build home starts before the first working day:
- A protocol with the defects, their numbers and the photos.
- The developer’s repairs – first the leaks, the damp, the cracks and the joints around the windows, because the renovation will cover them up.
- A site visit or an indicative estimate from photos, then a written quote listing the work.
- The decisions to make before the start: the kitchen and furniture, extra electrical and plumbing points, the bathroom and the lighting.
- The renovation in stages – from skim coat to turnkey: electrics and plumbing, the bathroom, skim coating and painting, the flooring, the doors and the kitchen, and the second fix.
We have worked out what the finishing costs in the article on new-build apartment finishing costs, and shown the stages on a real project in a new-build apartment from bare walls to turnkey.
How we work in a new-build home
In a new-build apartment renovation, we look at the same things at the site visit – the flatness, the connection points, the panel, the ventilation and the risers – because the scope and the price depend on them. If we see something that looks like a defect of the building, we will show it to you so that you can ask the seller to fix it before we start.
The site visit is free, the quote is in writing, and the labour prices for each job are in our price list. The warranty on our work is in writing: 24 months for the renovation and 72 months for the plumbing and electrical installations.
If you sign a contract by 31 December 2026, the 10% discount applies to the whole quote – both the labour and the materials we supply – and also to quotes we have already sent. The renovation itself can start in 2027.
Frequently asked questions
When can I start the renovation?
When the protocol is signed, everything has been photographed and the developer has fixed what the renovation will cover up. Work that does not touch the recorded defects can start earlier. Parquet, laminate and wallpaper go in once the base is dry enough – the moisture is measured, and the acceptable level is in the manufacturer’s instructions.
Can you inspect the apartment before I take it over?
Yes, if you have access to it. The site visit is free and is for the renovation quote. It is not a technical survey of the building and does not replace your own inspection and the protocol with the seller.
If you already have the keys, send us a few photos through the estimate from photos service for an indicative estimate, or book a free site visit on +359 888 802 618. We work in Sofia and up to 80 km around it and reply to enquiries within 3–4 hours.
More articles
All articles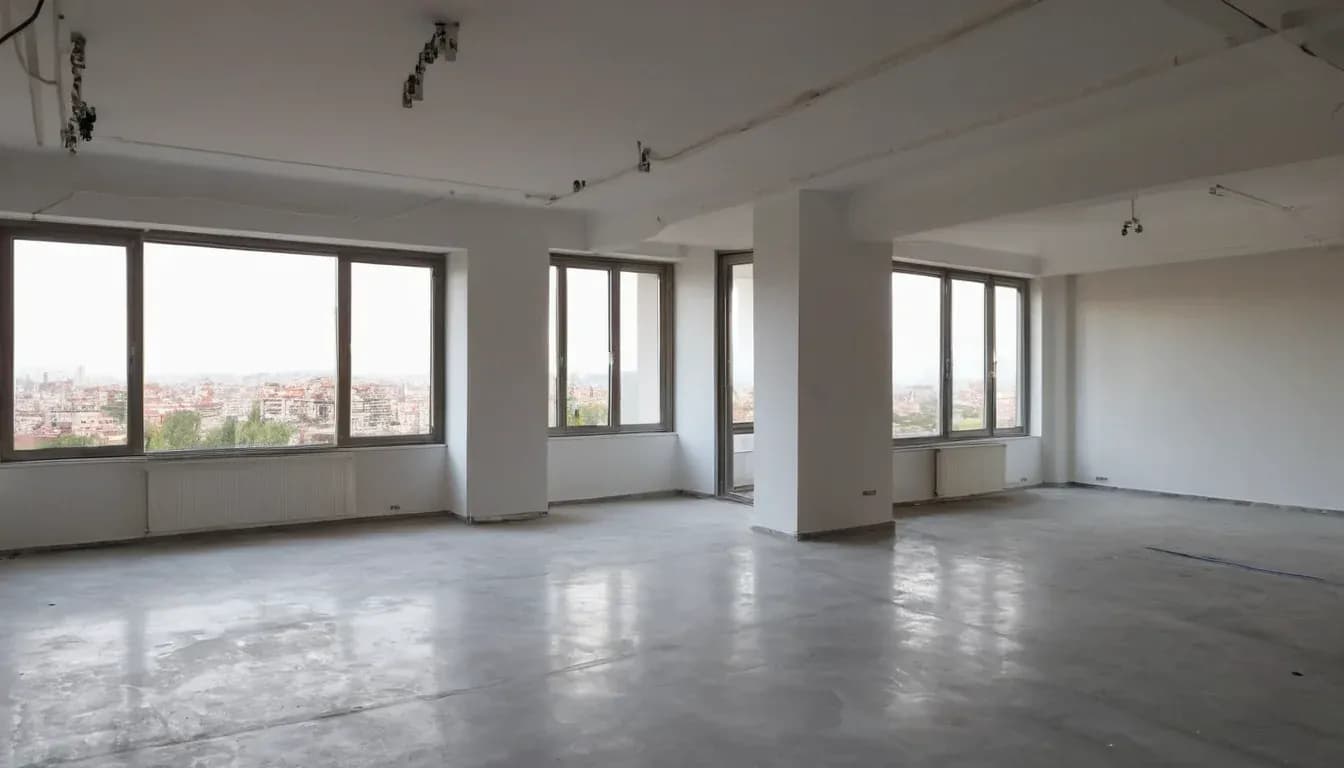 Planning
3 min read
Renovating a new-build home: from shell finish to turnkey
Bought an apartment in a new build? What to check at handover, the order in which the finishing work is done, and where time and money are most often lost.
Read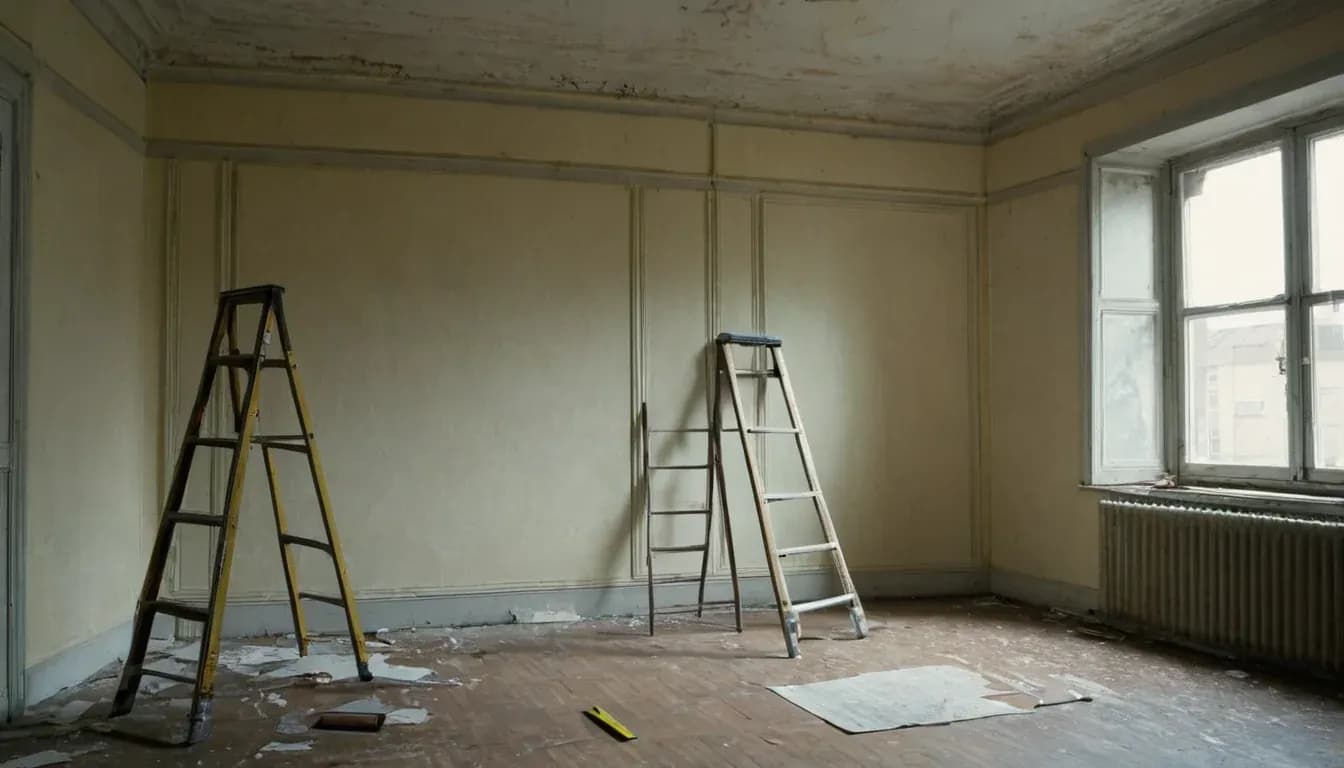 Planning
2 min read
5 mistakes before a renovation starts – and how to avoid them
The most expensive renovation mistakes don’t happen while the work is under way – they happen before it starts. Here are the five most common, and what to do instead.
Read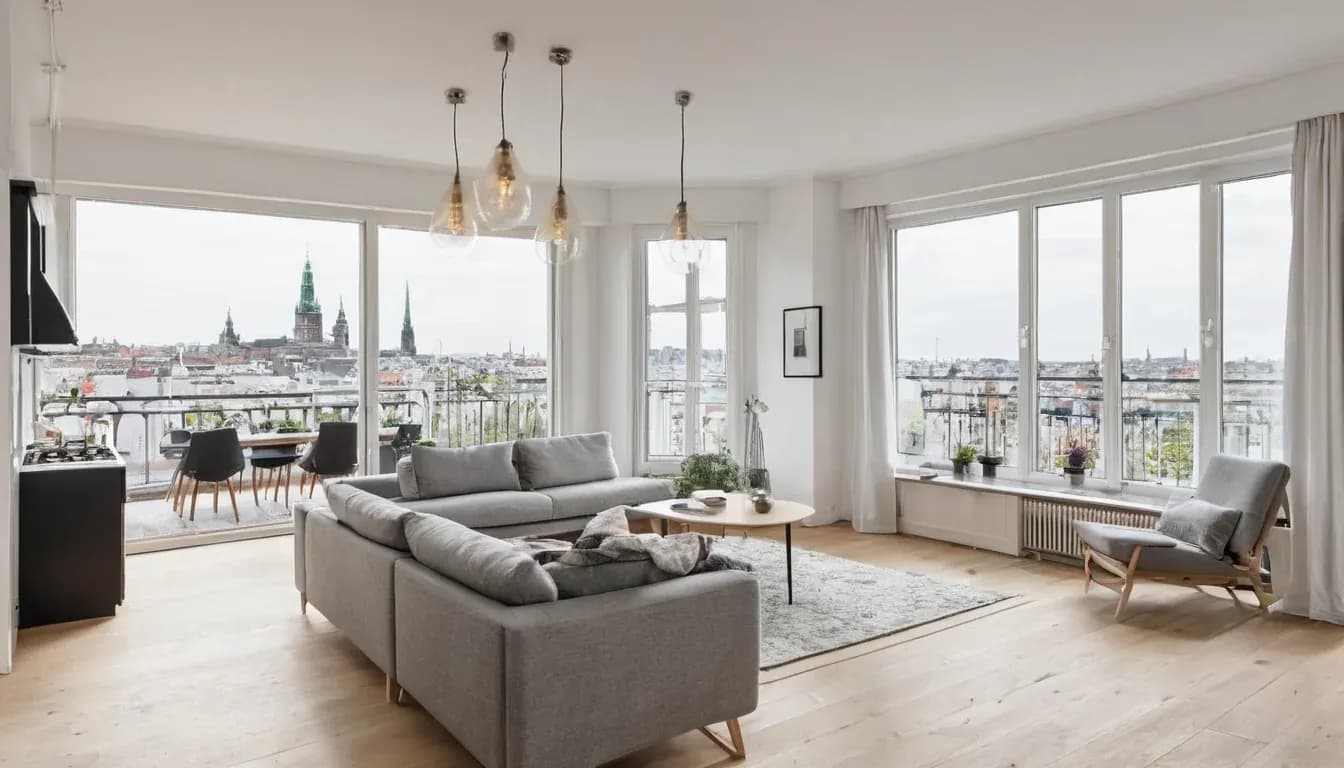 Planning
3 min read
What a ‘full renovation’ of an apartment actually includes
Contractors often use the term differently. We set out the stages from strip-out to the final details, so you know exactly what to expect – and what to ask.
Read