Rewiring an old apartment: when it’s time and how it’s done
Aluminium wiring, old fuses and sockets that heat up – when old electrical wiring becomes a risk, what replacing it involves, and why it is done before skim coating, not after.
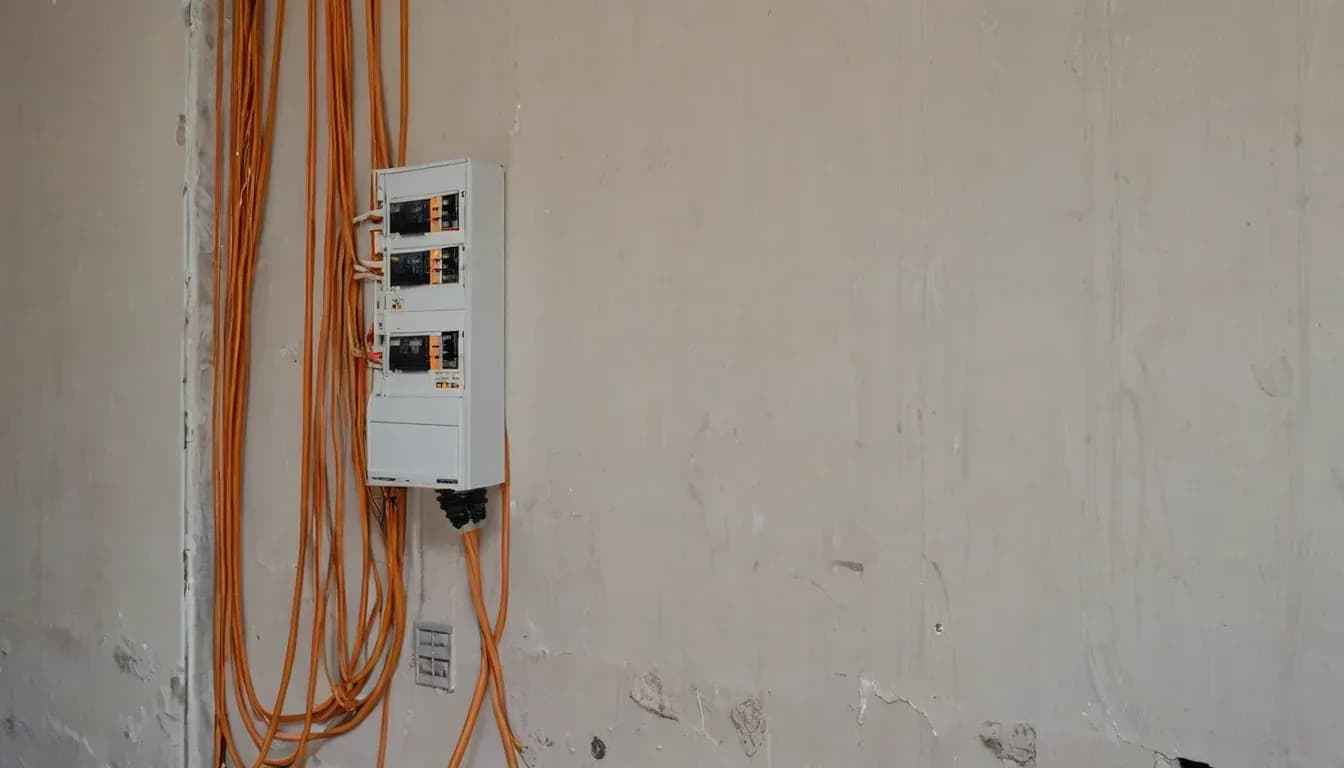
In many homes in prefab panel and brick blocks, the electrical wiring is as old as the building – thirty, forty years or more. Back then, a home had a fridge, a cooker and a few lamps. Today the same wires power an oven, a hob, a water heater, air conditioners, a washing machine, a tumble dryer and dozens of chargers. The wiring was not designed for this load, and sooner or later it shows.
Signs that the wiring needs replacing
- Aluminium wiring – typical of older buildings; over time its connections loosen and heat up.
- Fuses or old circuit breakers that blow or trip when several appliances are switched on at the same time.
- Sockets and switches that get hot, crackle, spark or have darkened around the openings.
- No residual current device (RCD) – especially risky in the bathroom and kitchen.
- No earthing: sockets without an earth contact.
- Extension leads and multi-way adaptors used as a permanent solution, because there aren’t enough sockets.
If you recognise at least two of these signs, piecemeal repairs usually just put off the problem. A major renovation is the most sensible moment to replace the wiring – the walls are being opened up anyway.
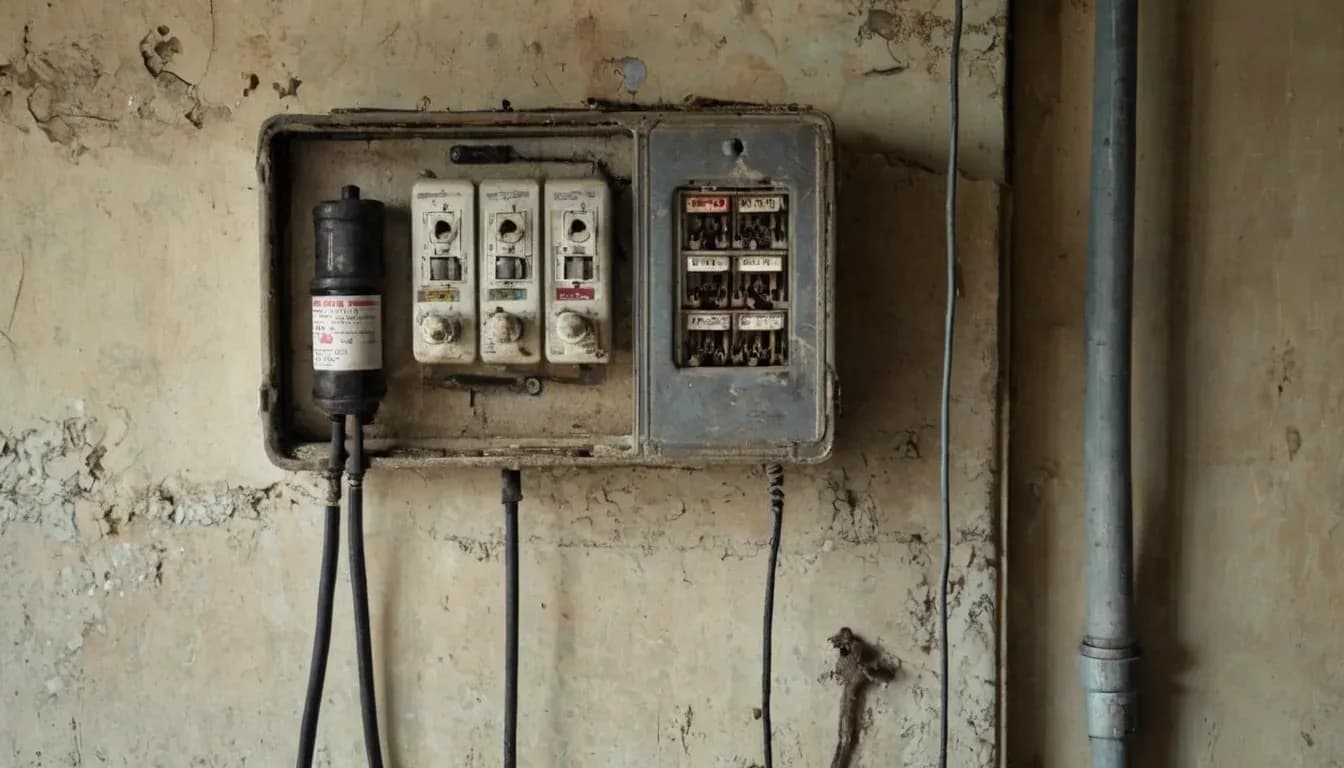
Why it’s done before skim coating, not after
The new cables run in channels cut into the walls or in the floor screed. The channels are cut, the cables are laid in corrugated conduit, and then everything is filled over. In prefab panel buildings, the load-bearing walls and ceiling slabs are not chased – there, the cable runs go through the screed, along the partition walls or above a suspended ceiling. If the walls are skim-coated and painted first, and only then does someone decide ‘let’s replace the electrics too’, part of the work gets done twice. That is why, in the right sequence, the electrics are among the first stages of a renovation – together with the plumbing, before plastering, skim coating and tiling.
How the rewiring is carried out
- Circuit plan – the positions of the sockets, switches and lighting; dedicated circuits for the oven, hob, water heater, air conditioners and washing machine, and the protective devices for them.
- Removal and chasing – the old wires are pulled out where possible, and channels are cut for the new cable runs (without touching the load-bearing panels).
- Laying the cables – copper cables with a suitable cross-section for each circuit, in corrugated conduit, running to the back boxes for switches and sockets.
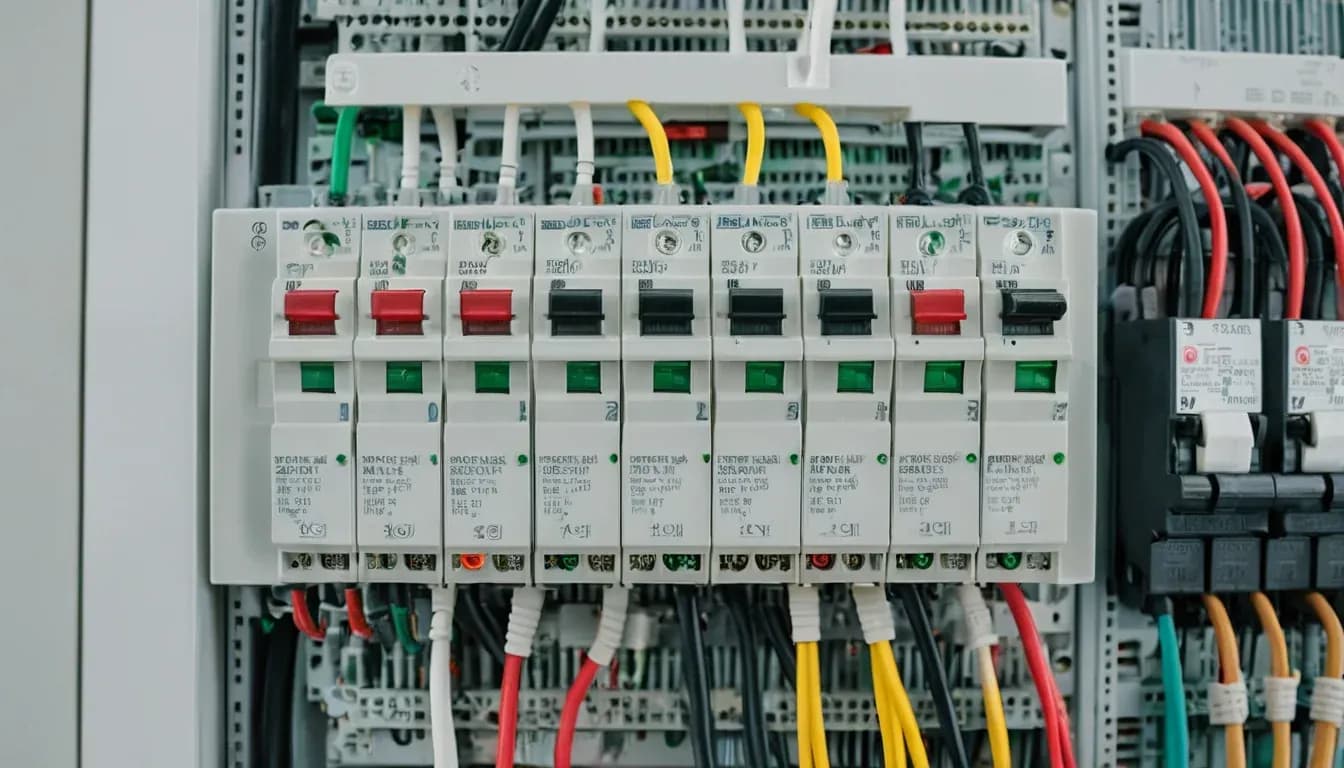
- A new electrical panel – circuit breakers for each circuit and RCD protection; the panel is labelled so you know which breaker supplies what.
- Making good – the channels are filled in and the walls are prepared for skim coating.
- Second fix – after painting, the sockets, switches and light fittings are installed.
- Testing – before the installation is put into use, the insulation, protective devices and earthing are checked.
What determines the price
The price depends on the floor area and the number of rooms, the number of points (sockets, switches, lights), the number of dedicated circuits for high-power appliances, the type of walls – prefab panel, brick or drywall – and whether the panel is being replaced. That is why apartments of the same size can differ considerably. The exact figure comes after a site visit and a finalised plan of the points.
How long it takes
For a standard apartment, the first fix usually takes a few working days, and the second fix another day or two after painting. The actual timeline depends on the volume of work and on whether it runs in parallel with other jobs. What matters is that the electrics are in the renovation schedule from the outset, rather than being squeezed in at the last minute.
A few tips before you start
- Think about the furniture layout in advance – where the bed, desk, TV and kitchen appliances will go. The sockets are planned around them.
- Plan for more sockets than you think you need, especially in the kitchen and next to the beds.
- A dedicated circuit for every high-power appliance saves you from tripping breakers later.
- Photograph the walls with the cables in place before they are filled over – you will need the photos when you drill for a shelf or a picture.
If you are not sure whether your wiring needs replacing, a site visit is the quickest way to find out. We will check the panel, the wiring and the protective devices, and you will receive a written quote with the points and circuits clearly described.
More articles
All articles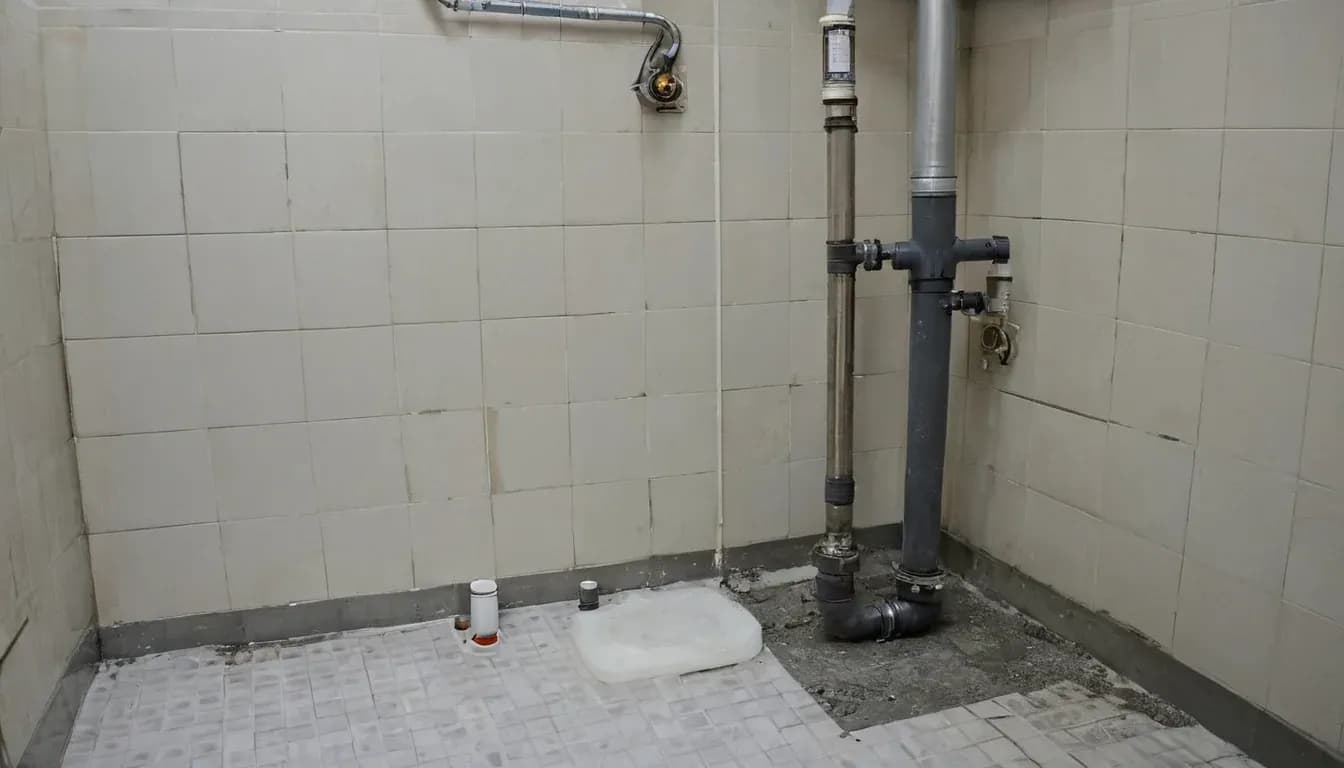 Plumbing & electrics
3 min read
Replacing the risers in an apartment block: how it’s organised and what to expect
Risers are a common part of the building, and replacing them affects every neighbour along the same vertical line of apartments. When it’s needed, how it’s agreed and how it goes without unnecessary stress.
Read Bathroom
3 min read
Bathroom waterproofing: the invisible layer that protects you and your neighbours
Exactly where waterproofing goes in a bathroom, which details make all the difference, and how it is tested before the tiles go on.
Read Planning
3 min read
Renovating a new-build home: from shell finish to turnkey
Bought an apartment in a new build? What to check at handover, the order in which the finishing work is done, and where time and money are most often lost.
Read