Screed and self-levelling screed: cost per m² and which to use
Labour per m² for standard and self-levelling screed by thickness, when to use each, and a worked example for a 20 m² room in two scenarios.
Free site visit and quote
Leave your phone – we will call you
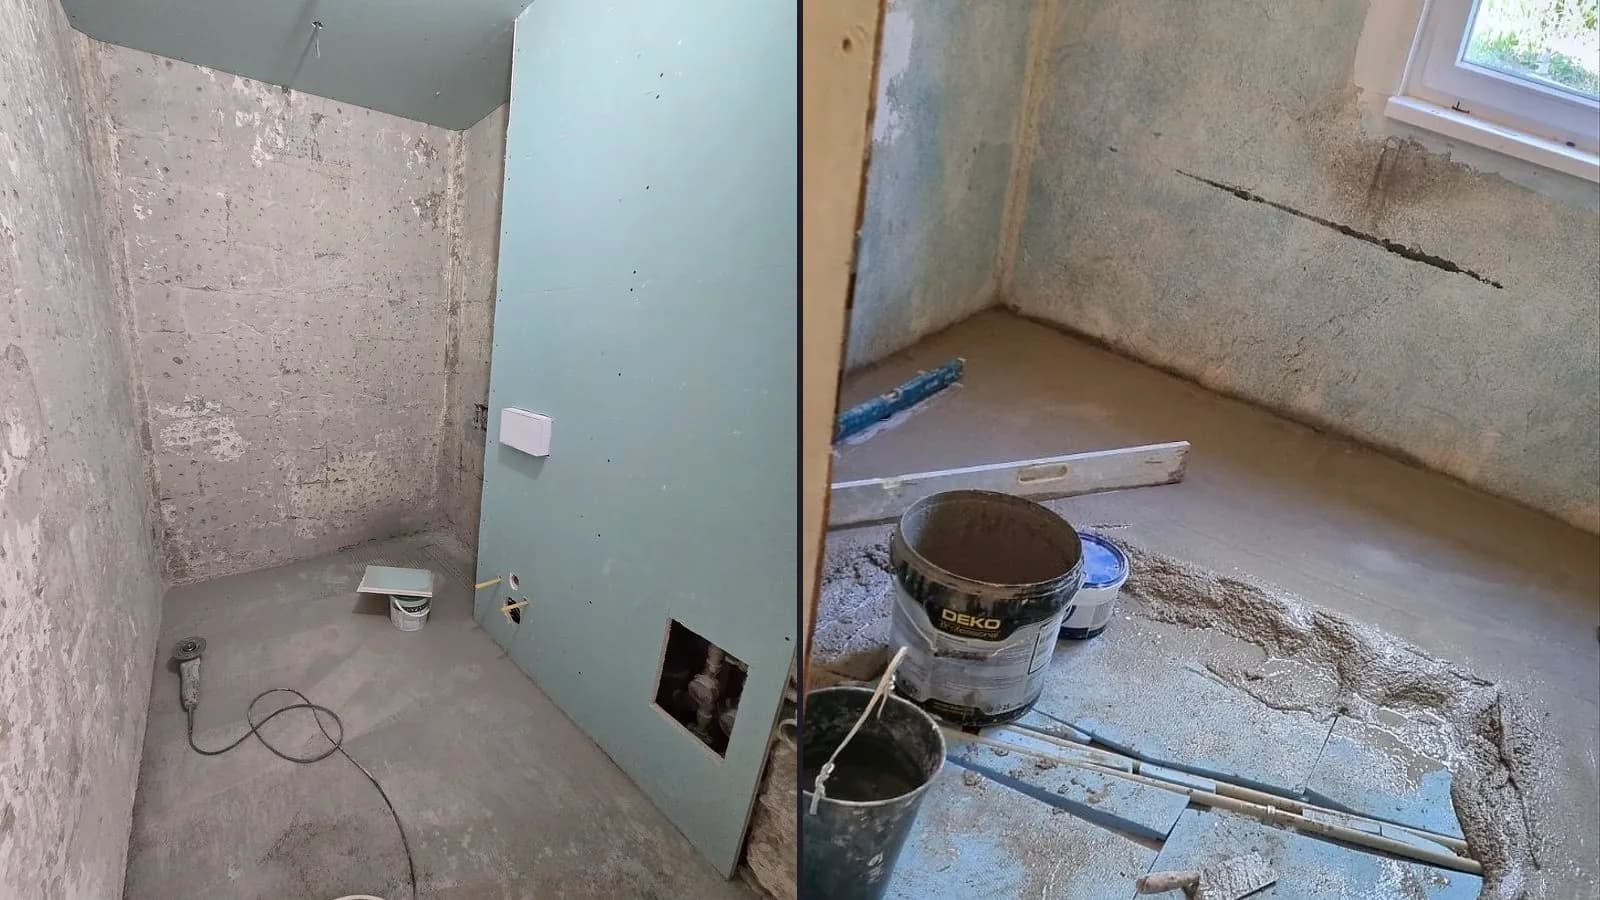
Self-levelling screed costs €15.18 per m² for labour for a layer up to 2 cm, €20.00 for up to 3 cm and €30.00 for up to 5 cm. Standard screed with mesh is €13.42 per m² for labour for a thickness up to 3 cm and €29.53 for up to 6 cm. With both, the price rises with the thickness of the layer, which depends on the differences in floor level.
The two screeds are not interchangeable. Standard (cement) screed builds up the floor and can be laid to a fall, while self-levelling screed is the thin final layer that levels the base before laminate, parquet, vinyl or tiles.
Below are the prices from the price list, when each screed is used, how self-levelling screed is laid and a worked example for a 20 m² room in two scenarios. The prices are for labour only, as of October 2026, and may change. The mix, primer and mesh are construction materials – they appear on a separate line in our quote.
Labour prices from the price list
The items are named as in the price list. Screed is priced per square metre, with one exception: in a bathroom or toilet, it is a per-item price for the whole room.
| Price-list item | Price for labour |
|---|---|
| Mesh + floor screed up to 3 cm | €13.42 per m² |
| Floor screed | €21.47 per m² |
| Floor screed up to 5 cm | €26.84 per m² |
| Mesh + floor screed up to 6 cm | €29.53 per m² |
| Floor screed – bathroom/toilet | €198.64 each |
| Primer before self-levelling screed | €1.41 per m² |
| Applying primer before self-levelling screed | €1.80 per m² |
| Self-levelling floor screed | €12.35 per m² |
| Self-levelling floor screed up to 2 cm | €15.18 per m² |
| Self-levelling floor screed up to 3 cm | €20.00 per m² |
| Self-levelling floor screed up to 5 cm | €30.00 per m² |
The items ‘Floor screed’ and ‘Self-levelling floor screed’ have no thickness specified. Primer appears as two items – at €1.41 and at €1.80 per m² for labour. Which item applies to your floor depends on the measured levels and on the base, and it is written into the quote after the site visit.
One item includes the materials: ‘Self-levelling floor screed/labour and materials’ – €16.11 per m² including materials. No thickness is specified for it either, so its price for your floor is confirmed once the levels have been measured.
If the floor has an old covering, removing it is added to the bill, and sometimes breaking out the old screed as well:
| Price-list item | Price for labour |
|---|---|
| Removing laminate flooring | €3.22 per m² |
| Removing floor covering/parquet | €6.98 per m² |
| Removing floor covering (carpet/linoleum) | €7.50 per m² |
| Breaking out tiles (walls + floor) | €16.11 per m² |
| Breaking out floor screed | €16.11 per m² |
| Taking construction waste to a disposal site (tipper lorry) | €110.00 per trip |
Standard or self-levelling: which one when
Standard (cement) screed
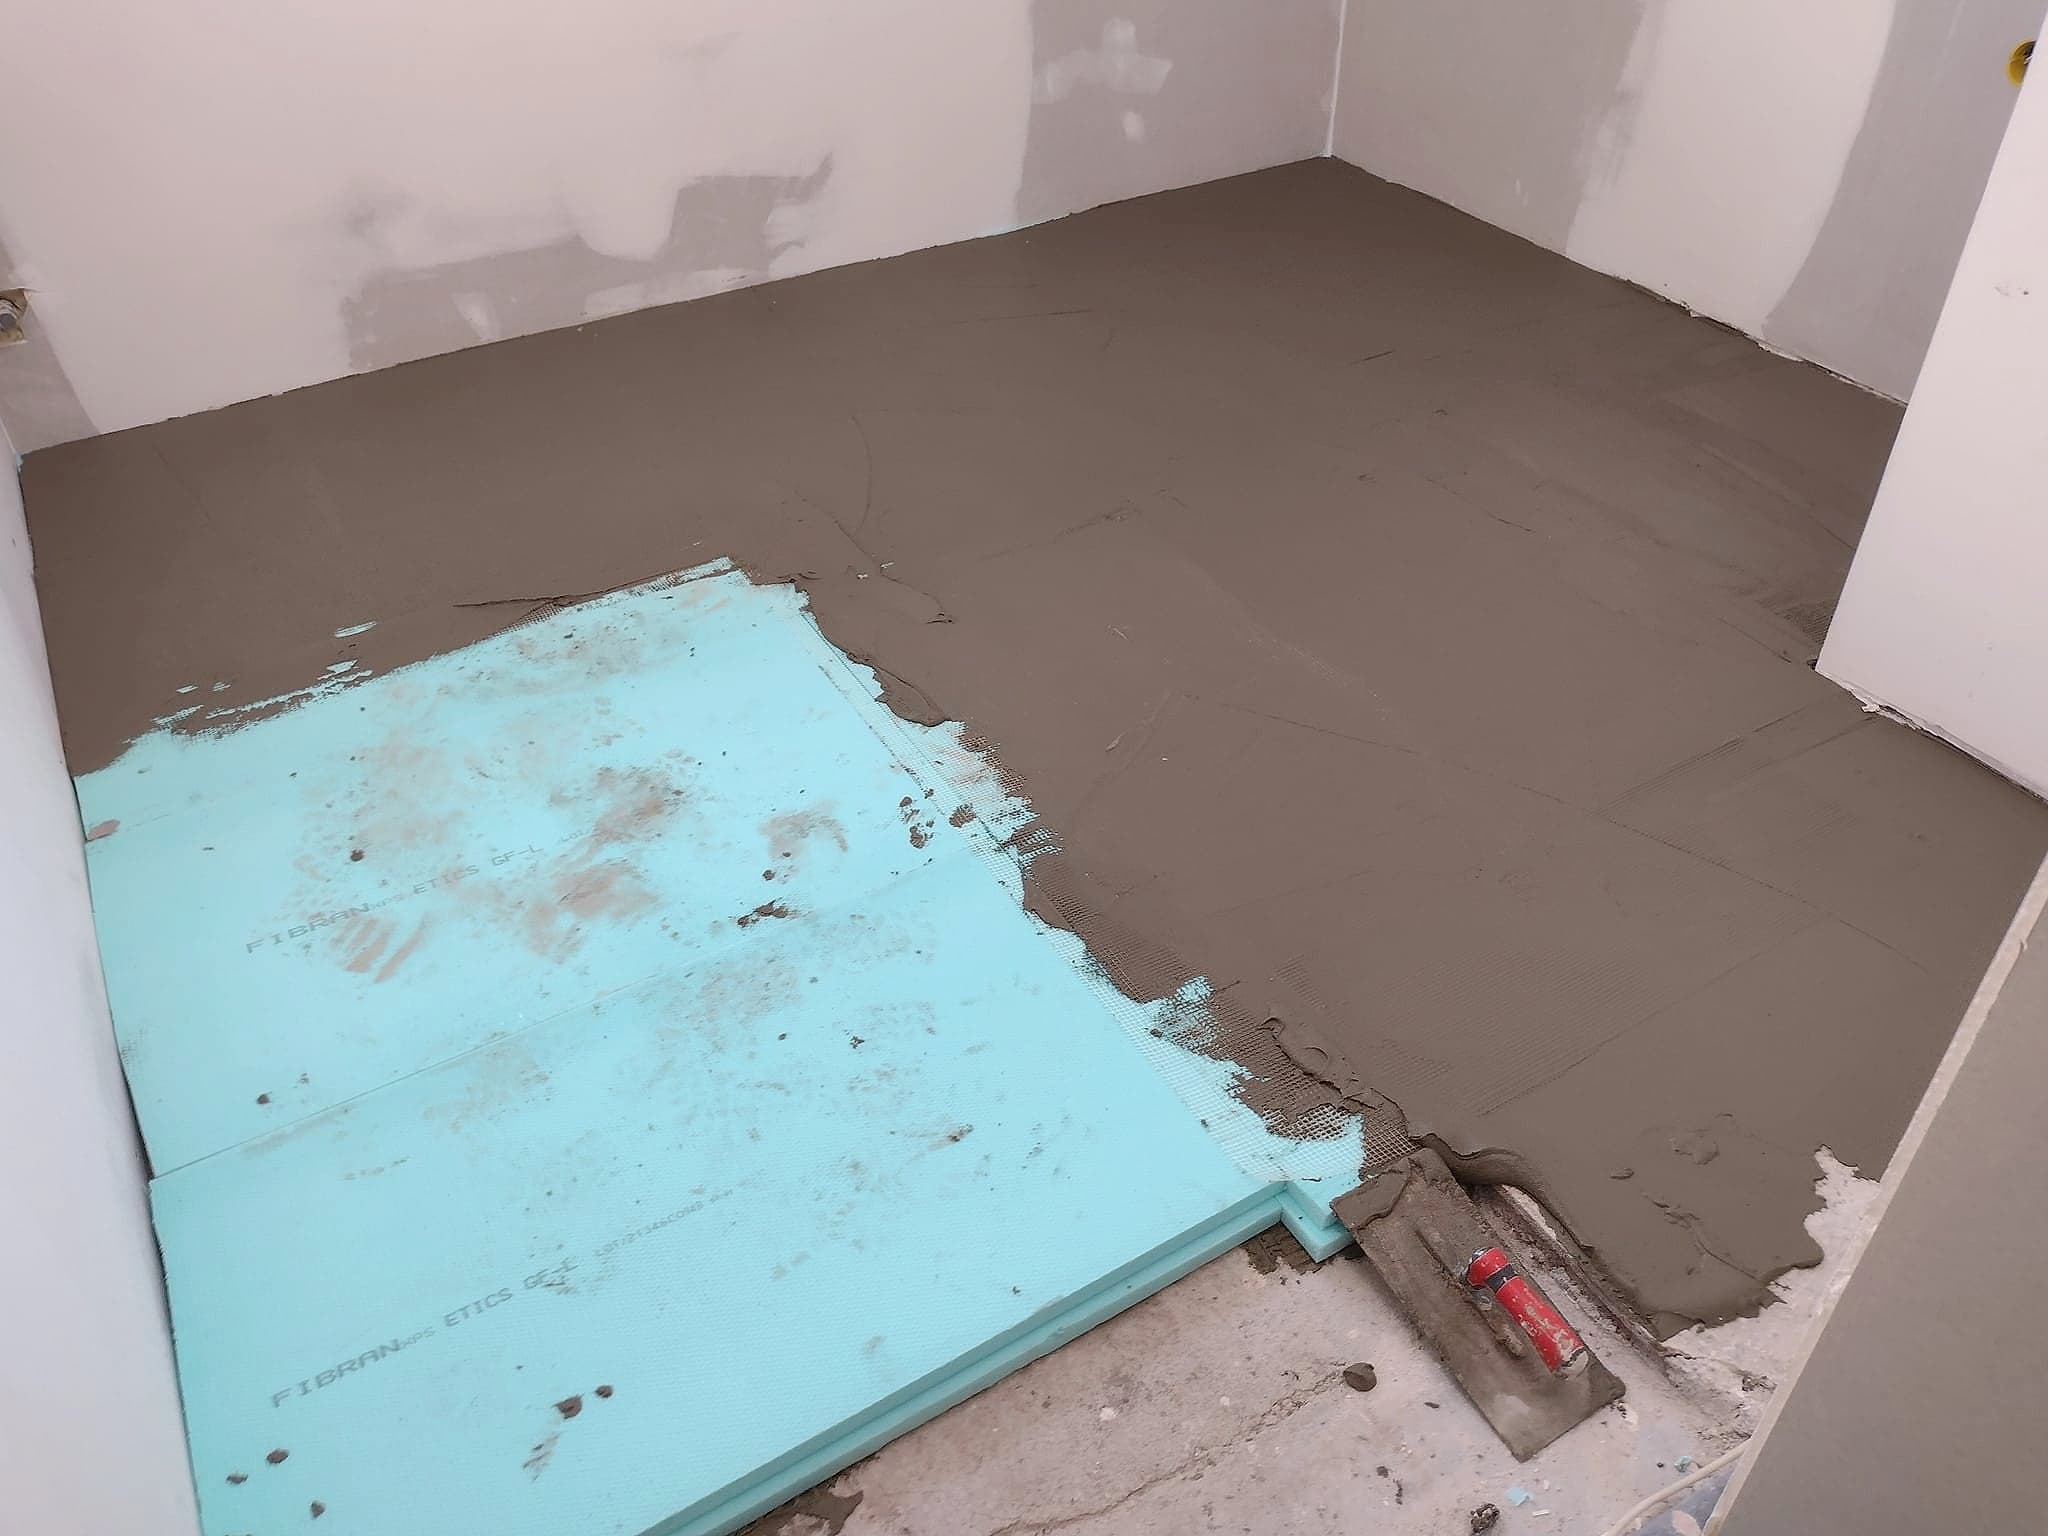
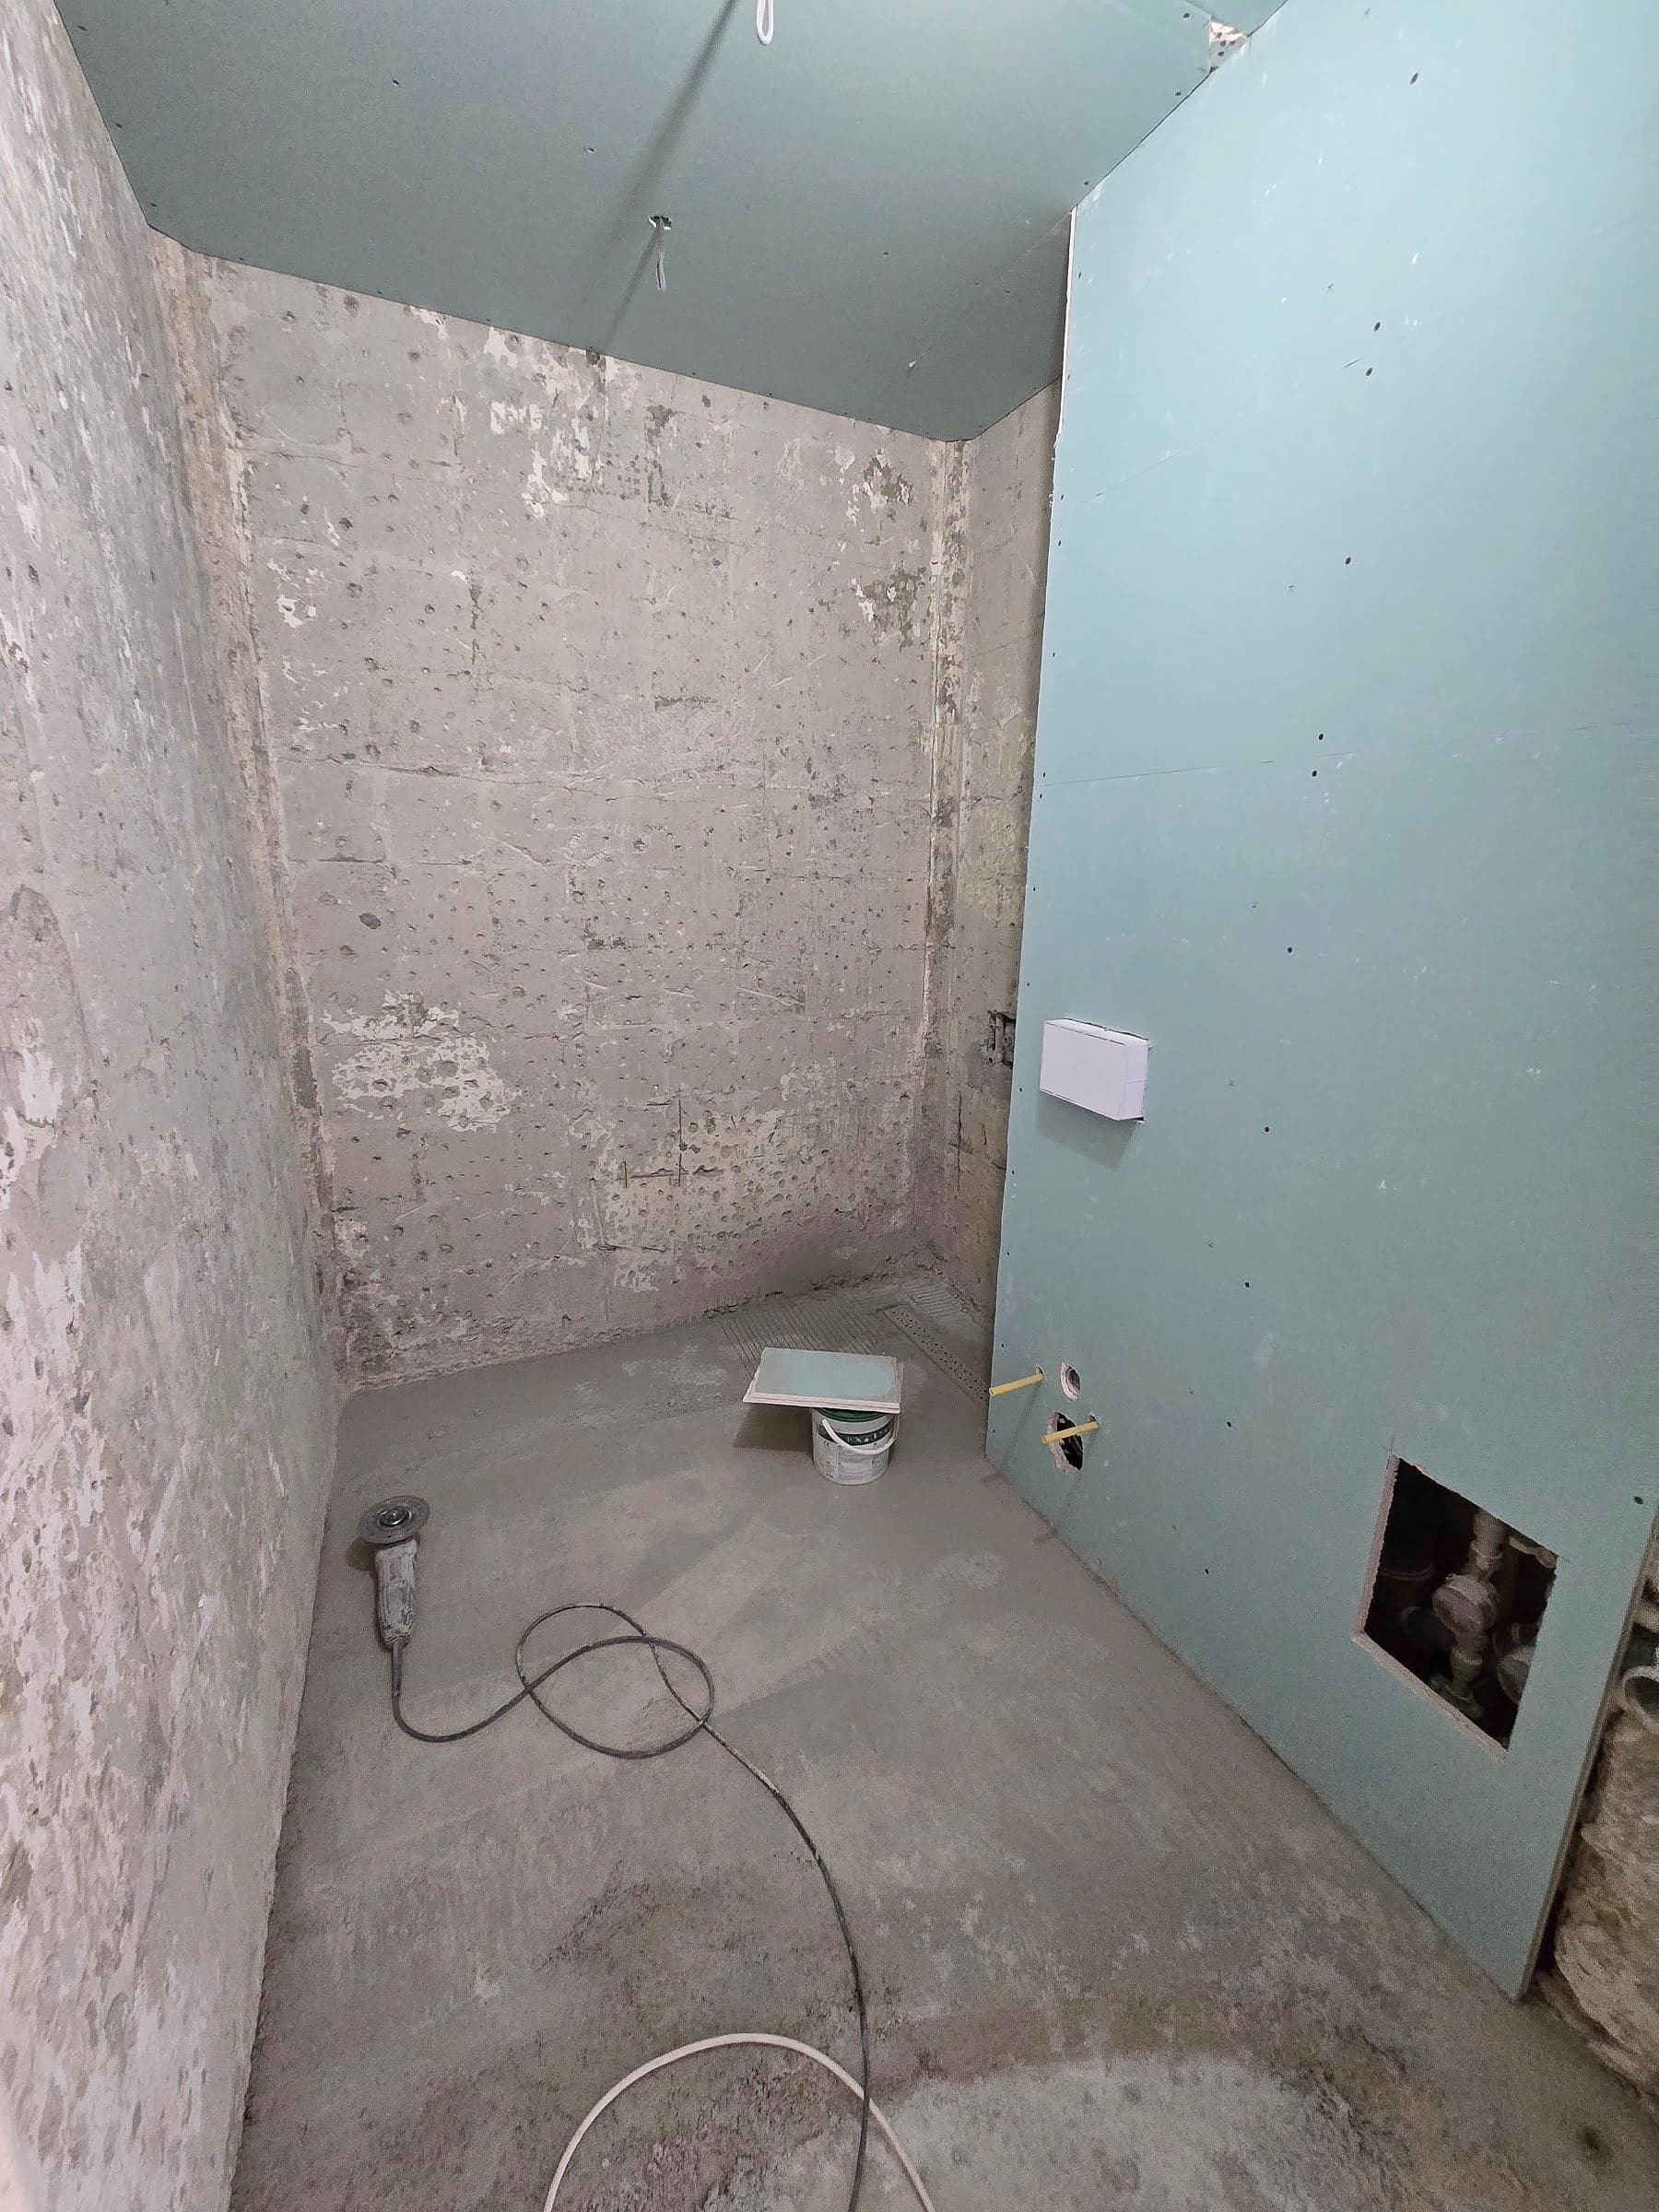
It is laid when the floor has to be raised, when there are pipes, underfloor heating or thermal insulation underneath, and when a fall is needed – towards the drain in a bathroom, for example. The surface is ruled off with a straightedge along screed rails.
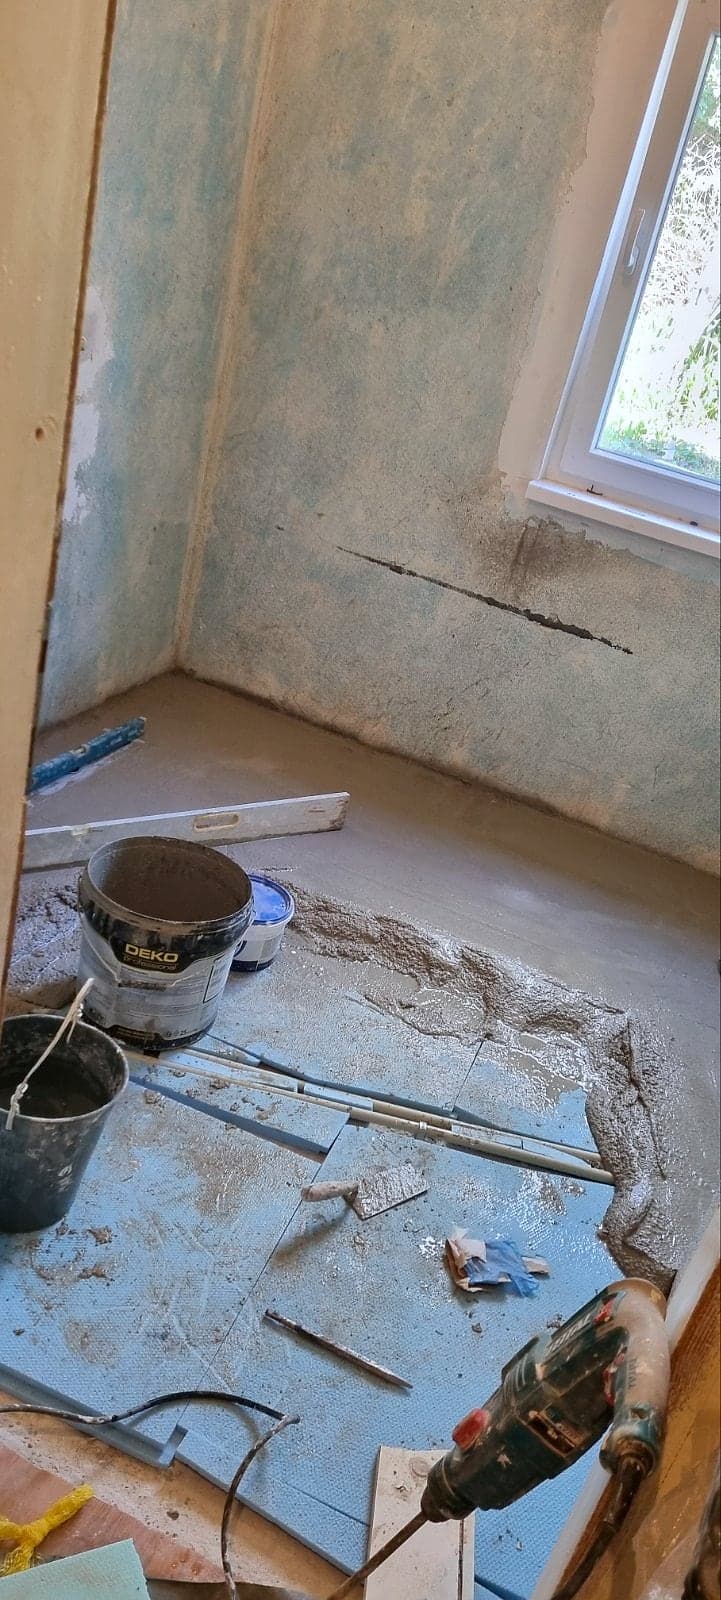
The mesh reinforces the layer and reduces the risk of cracking, especially when the screed is thin or laid over thermal insulation – as in the attic room with a suspended ceiling in the photo. If, once it has dried, the floor is not flat enough for laminate or parquet, a thin layer of self-levelling screed is poured on top.
Self-levelling screed
Self-levelling screed is a liquid mix that flows out by itself into a level surface. It provides the fine levelling before the floor covering: it smooths out the waves in the old screed, brings the rooms and the hallway to the same level and gives a base on which laminate and parquet lie flat everywhere.
It is not for everything, though. It cannot form a fall, because it flows out level. Nor is it poured over a crumbling, hollow or dirty base: such areas are repaired or broken out first. And where the differences in level are large, the floor is first raised with standard screed, and the self-levelling screed remains the final layer.
How the base is prepared and how the levels are measured is described on the self-levelling screed page. Which floor covering to choose for each room is covered in the article choosing flooring for every room.
How self-levelling screed is laid and how long it takes to dry
The result depends more on the preparation than on the pour itself. The order is as follows:
- The levels are measured in every room and a common target level is set. It determines the average thickness of the layer – and therefore the item in the quote.
- The base is cleaned of dust, cracks and holes are filled, and hollow and crumbling areas are broken out.
- Primer is applied: it reduces how much the base absorbs and prevents bubbles.
- A perimeter strip is fitted along the walls, and the movement joints in the base are carried through into the new layer.
- The mix is poured without a break, spread with a gauge rake and de-aired with a spiked roller.
- Once it has dried, the flatness is checked again before the floor covering is laid.
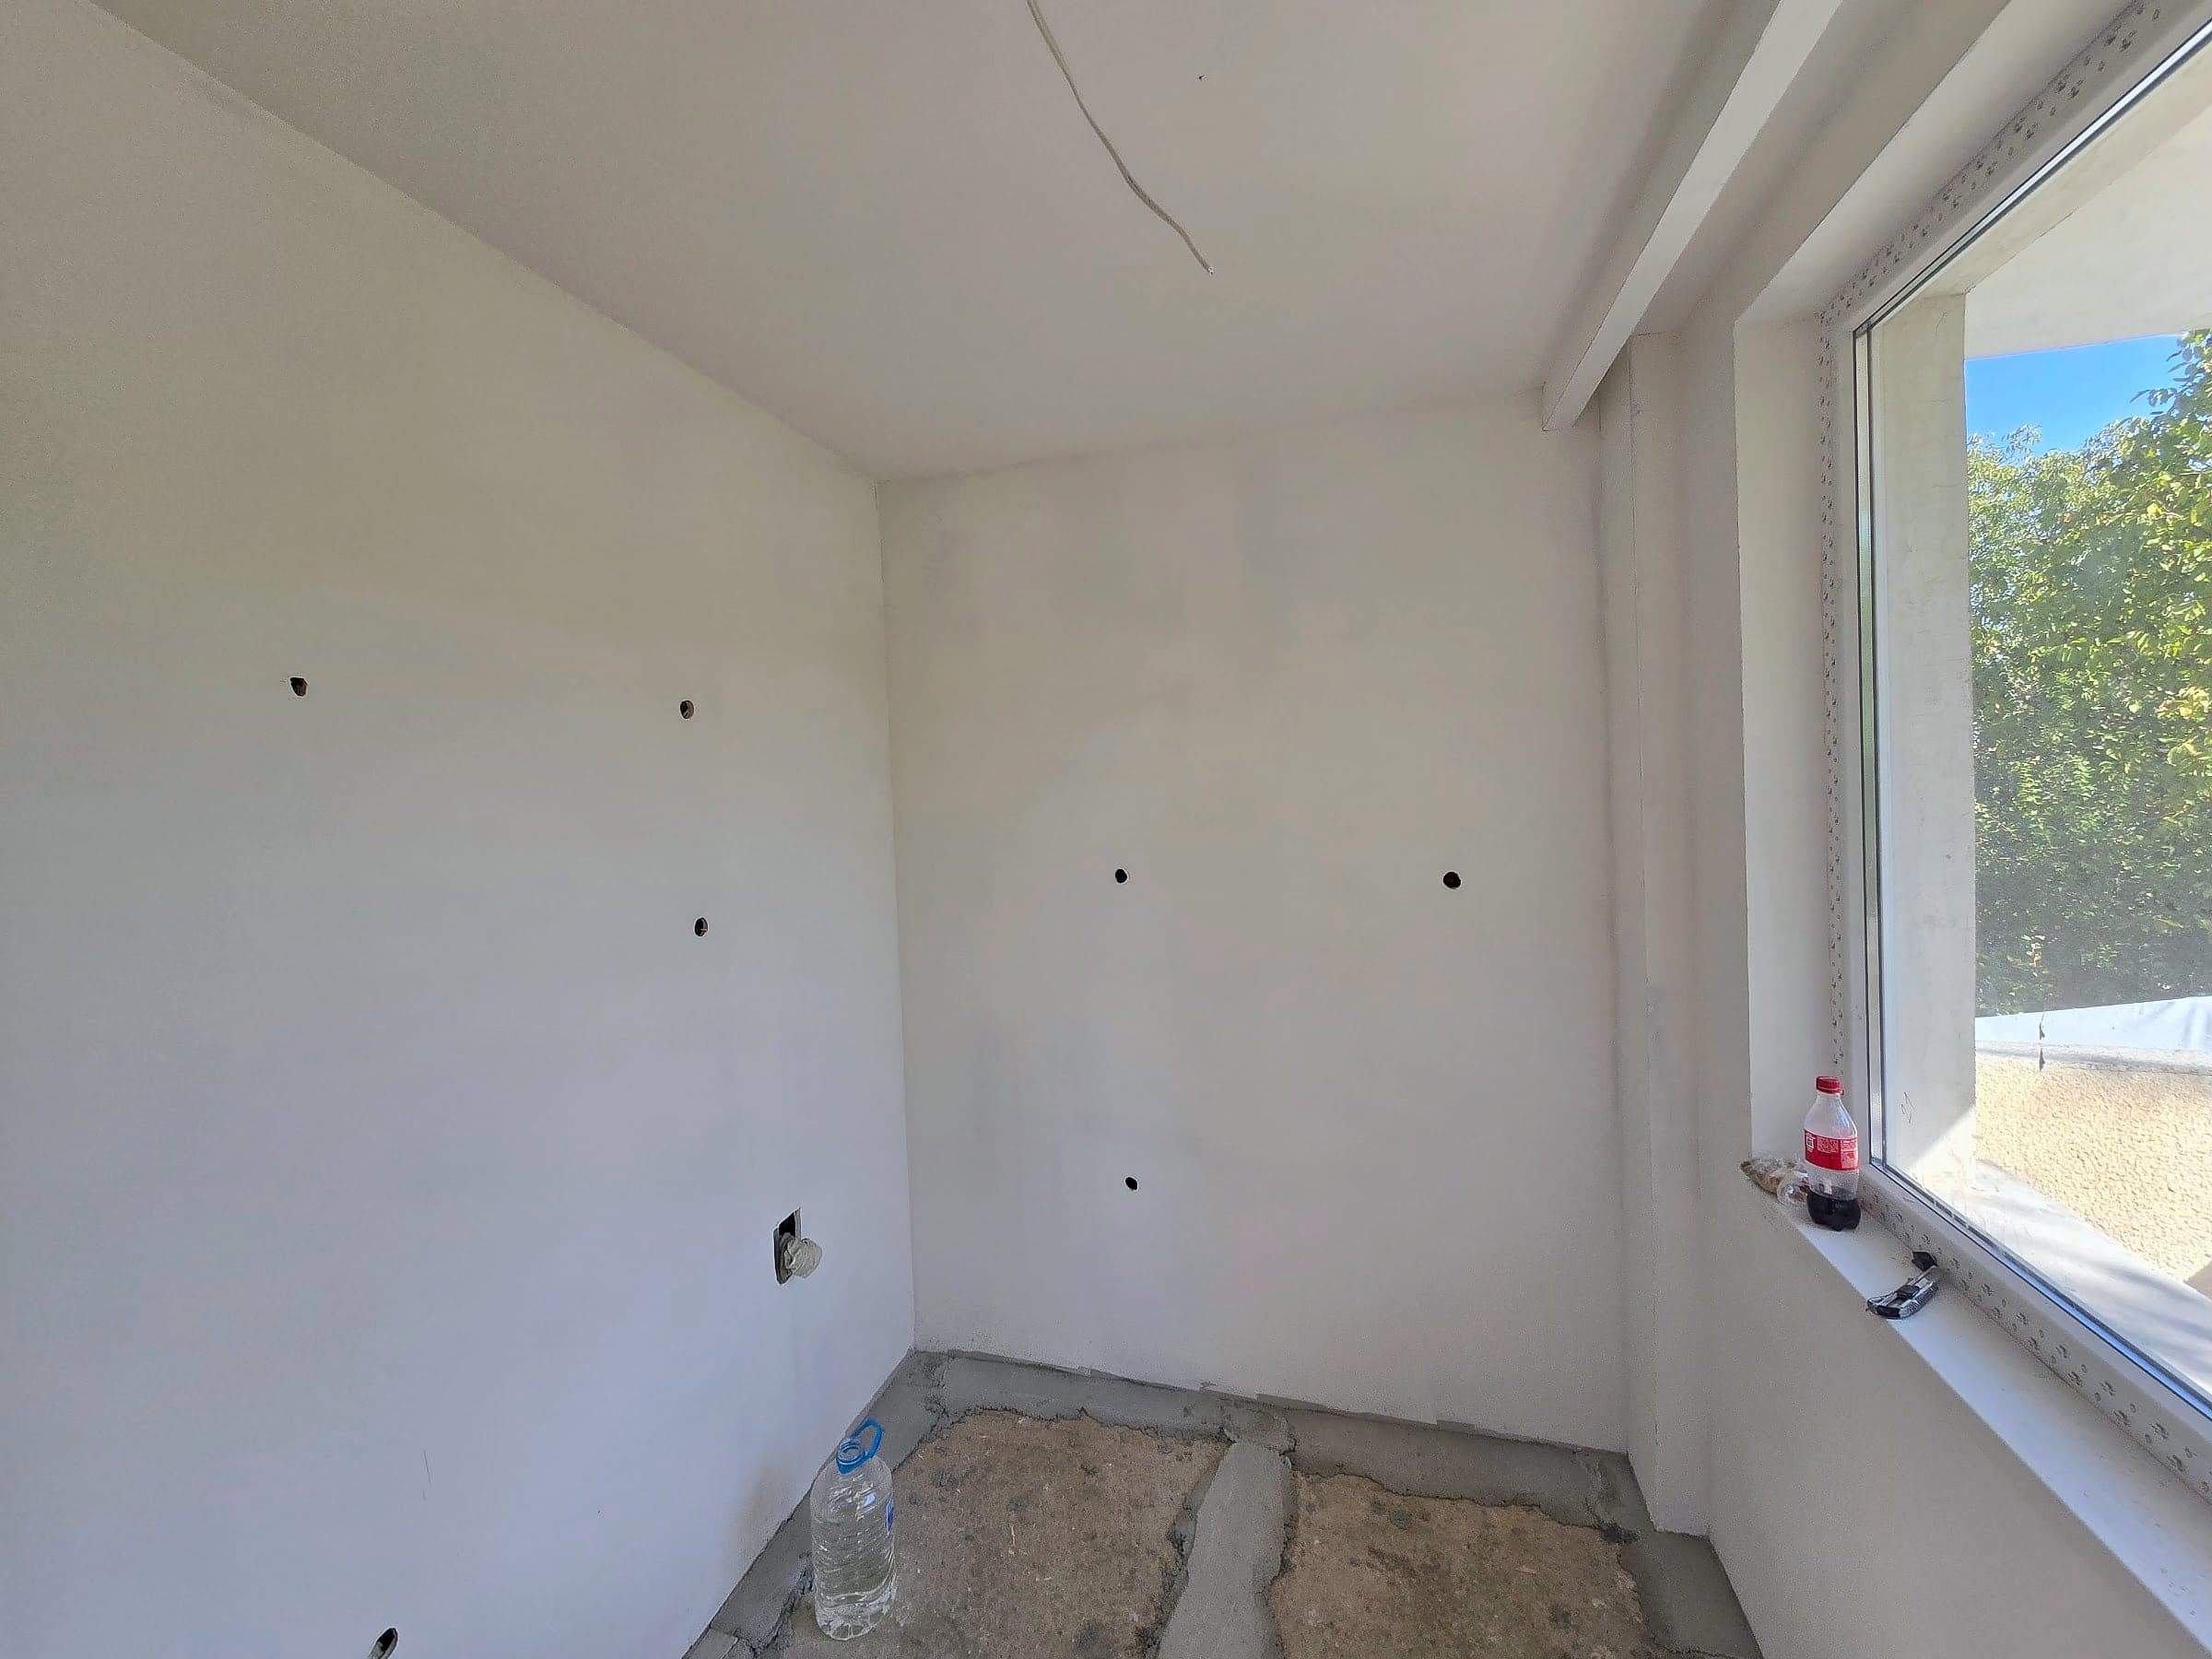 Before
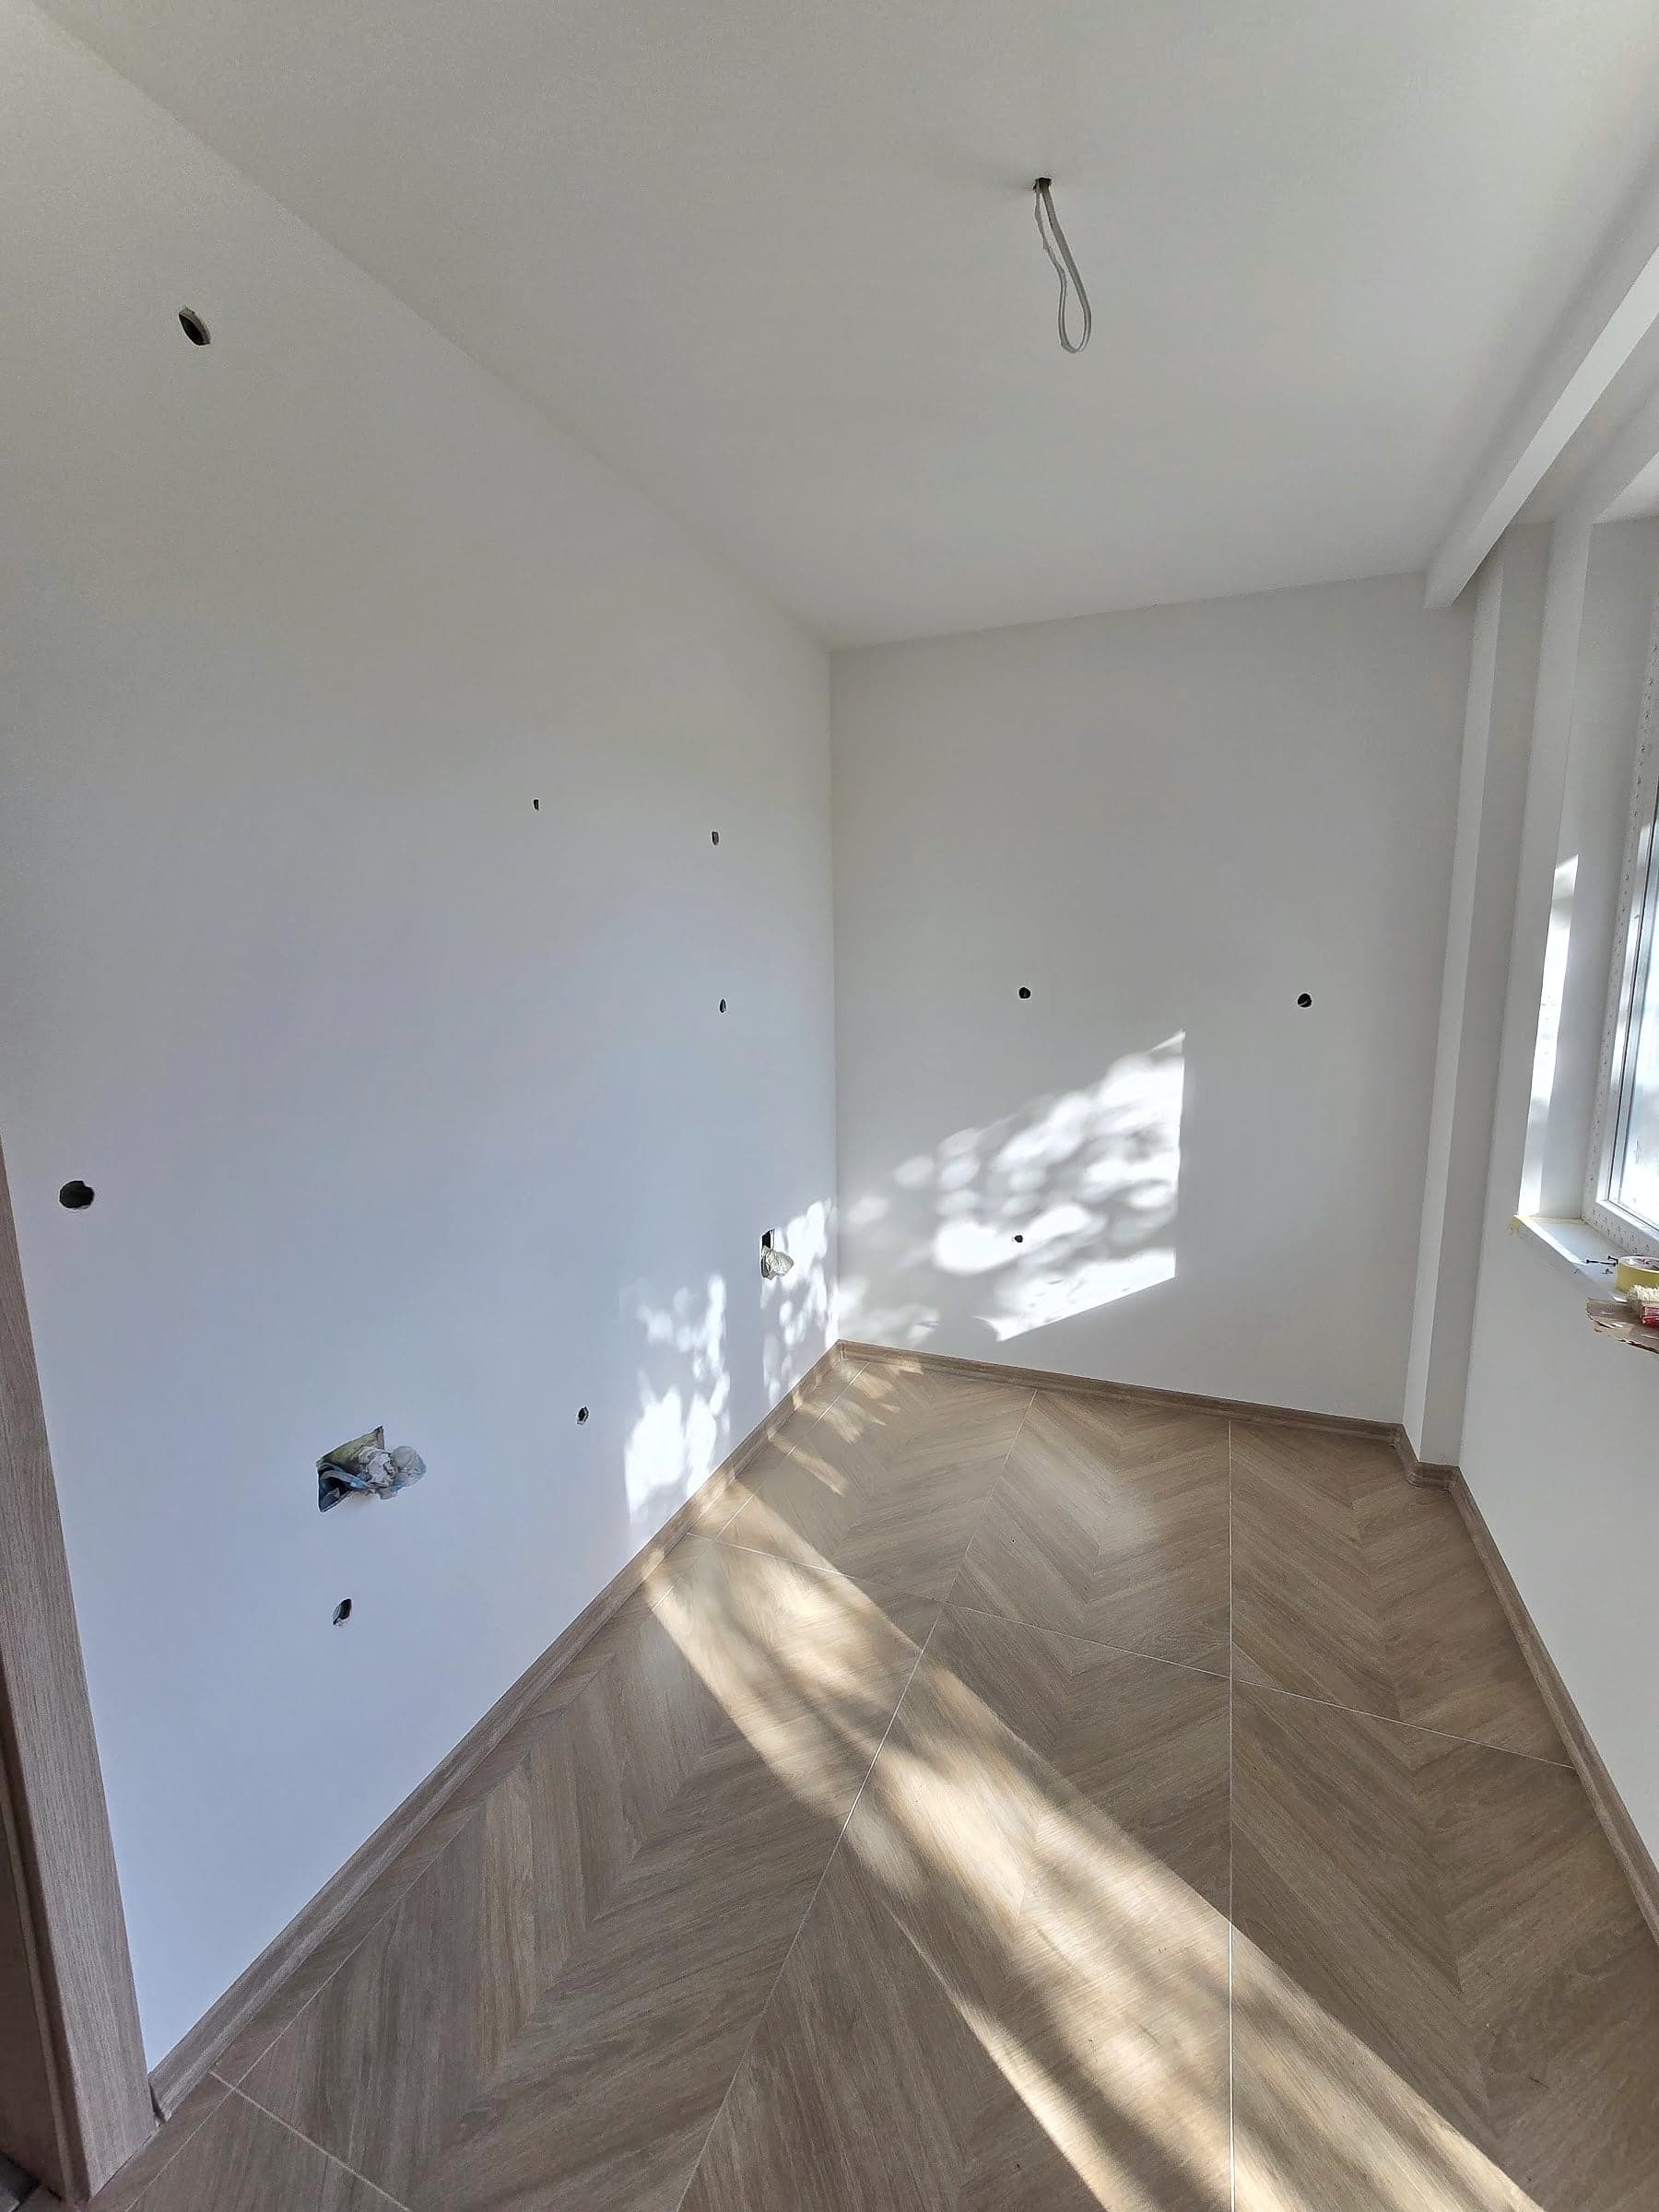 After
How long screed takes to dry depends on the mix, the thickness, the temperature and the ventilation – the manufacturer gives a guideline in the instructions. Thick cement screed takes longer to dry than a thin layer of self-levelling screed, which is why time is set aside for it in the renovation schedule.
It is important not to confuse two things: screed can be walked on long before it is ready for a floor covering. It may be hard on the surface but still hold moisture deeper down, so before parquet and other wooden floors are laid, the moisture content of the base is measured.
Worked example: a 20 m² room
Take a 4 × 5 m room – 20 m² of floor – in two scenarios. The calculations follow the price list and cover labour only.
Scenario 1: the screed is sound but uneven
For example, after old parquet has been taken up, or in a new-build home handed over with a wavy screed. Self-levelling screed is poured on top, and the price depends on the average thickness of the layer:
| Average thickness | Self-levelling screed, 20 m², labour | Primer, 20 m², labour | Total for labour |
|---|---|---|---|
| up to 2 cm | 20 × €15.18 = €303.60 | 20 × €1.41 = €28.20 | €331.80 |
| up to 3 cm | 20 × €20.00 = €400.00 | €28.20 | €428.20 |
| up to 5 cm | 20 × €30.00 = €600.00 | €28.20 | €628.20 |
The difference between a layer up to 2 cm and one up to 5 cm is €628.20 − €331.80 = €296.40 for labour. That is why the thickness is set after the levels have been measured, not by eye.
Scenario 2: the old screed is cracked or hollow
In that case it is broken out and a new one is laid: standard screed with mesh and, on top, a thin layer of self-levelling screed, because the room will have laminate flooring.
| Task | Quantity | Price for labour |
|---|---|---|
| Removing floor covering/parquet – €6.98 per m² | 20 m² | €139.60 |
| Breaking out floor screed – €16.11 per m² | 20 m² | €322.20 |
| Taking construction waste to a disposal site (tipper lorry) – €110.00 per trip | 1 trip | €110.00 |
| Mesh + floor screed up to 6 cm – €29.53 per m² | 20 m² | €590.60 |
| Primer before self-levelling screed – €1.41 per m² | 20 m² | €28.20 |
| Self-levelling floor screed up to 2 cm – €15.18 per m² | 20 m² | €303.60 |
| Total | €1,494.20 |
The total is €139.60 + €322.20 + €110.00 + €590.60 + €28.20 + €303.60 = €1,494.20 for labour, compared with €331.80 in the first scenario with a layer up to 2 cm. If the new screed turns out flat enough for the laminate on its own, the primer and the self-levelling screed are not needed (€28.20 + €303.60 = €331.80), leaving €1,494.20 − €331.80 = €1,162.40 for labour.
Which of the two scenarios is yours becomes clear on site: hollow areas can be heard when tapped, and cracks and crumbling spots show as soon as the old floor covering comes up. If work like this turns out to be needed during the renovation, it only starts once you have approved it in writing, with a price.
For a whole apartment, the calculation is done the same way, room by room. In the sample budget for renovating a two-room apartment, self-levelling screed up to 3 cm covers 50 m²: 50 × €20.00 = €1,000.00 for labour.
Screed in the bathroom
In a bathroom, the floor has to fall towards the drain, so standard screed is laid there, not self-levelling screed. In the price list, it is a single item for the whole room: ‘Floor screed – bathroom/toilet’ – €198.64 for labour.
The order is strict. The linear drain and the pipes are set in before the screed, the waterproofing is applied once the screed has dried, and the tiles are laid only after the waterproofing has been tested with water. To see how many days each stage takes, read the article how long a bathroom renovation takes; where the screed fits into the overall budget is shown in the labour cost of a bathroom renovation, task by task.
Frequently asked questions
Can laminate go straight onto the old screed?
Yes, if the screed is sound, dry and flat enough. How flat is stated in the laminate manufacturer’s instructions; it is checked with a long straightedge laid in different directions. If there are dips under it, or steps between the rooms, self-levelling screed is poured before the laminate goes down. If the screed is hollow or crumbling, it is broken out.
Why does screed crack?
The cause is usually haste or a weak base. Screed cracks when it is dried with heaters, in a draught or in direct sunlight: the top layer dries faster than the bottom. Cracks are also caused by more water than the packaging specifies, by a layer outside the thickness range the manufacturer allows, and by a base that is unprimed or dusty. And without a perimeter strip along the walls and without the movement joints carried through, the screed has no room to shrink as it dries.
How thick should the screed be?
As thick as the differences in level and whatever is underneath it – pipes, underfloor heating, thermal insulation – require. Every mix has a minimum and a maximum thickness, specified by the manufacturer. In the price list, the items are up to 3, up to 5 and up to 6 cm for standard screed, and up to 2, up to 3 and up to 5 cm for self-levelling screed; which one applies to you becomes clear once the levels have been measured.
Can screed go over underfloor heating?
Yes, but with a mix designed for underfloor heating and with the depth above the pipes that the system manufacturer requires. Before the floor covering goes down, the initial heating-up procedure must also be followed. We agree these details at the site visit, before work starts.
Can self-levelling screed go over old tiles?
Yes, if the tiles are firmly bonded. They are treated with a bonding primer – in the price list, ‘Concrete bonding primer’, €3.00 per m² for labour. Hollow tiles are removed, because they keep moving under the screed. The floor ends up higher, so we also check whether the doors will still open over it.
Whether your floor needs just a thin layer of self-levelling screed or a new screed becomes clear on site. The site visit is free, and the quote is in writing, with the work and the price set out. Book a site visit – we reply to enquiries within 3–4 hours. If you would like a rough idea first, send us photos of the floor via the photo estimate page.
More articles
All articles Flooring
7 min read
Flooring for homes with pets
Having a pet is a joy, but it can also be a challenge – especially when it comes to the floors in your home. If your dog loves racing around the house, or your cat sharpens its claws on everything in sight, you probably know how quickly a floor can turn into a battlefield. Claw scratches, paw marks, […]
Read Flooring
7 min read
How to choose the right flooring for every room
Flooring is a fundamental element of interior design, providing the backdrop for the rest of the furnishings and decor. It can create a sense of space or cosiness, emphasise a particular style, or add texture and colour. Wooden floors, for example, bring warmth and a natural feel, while ceramic tiles…
Read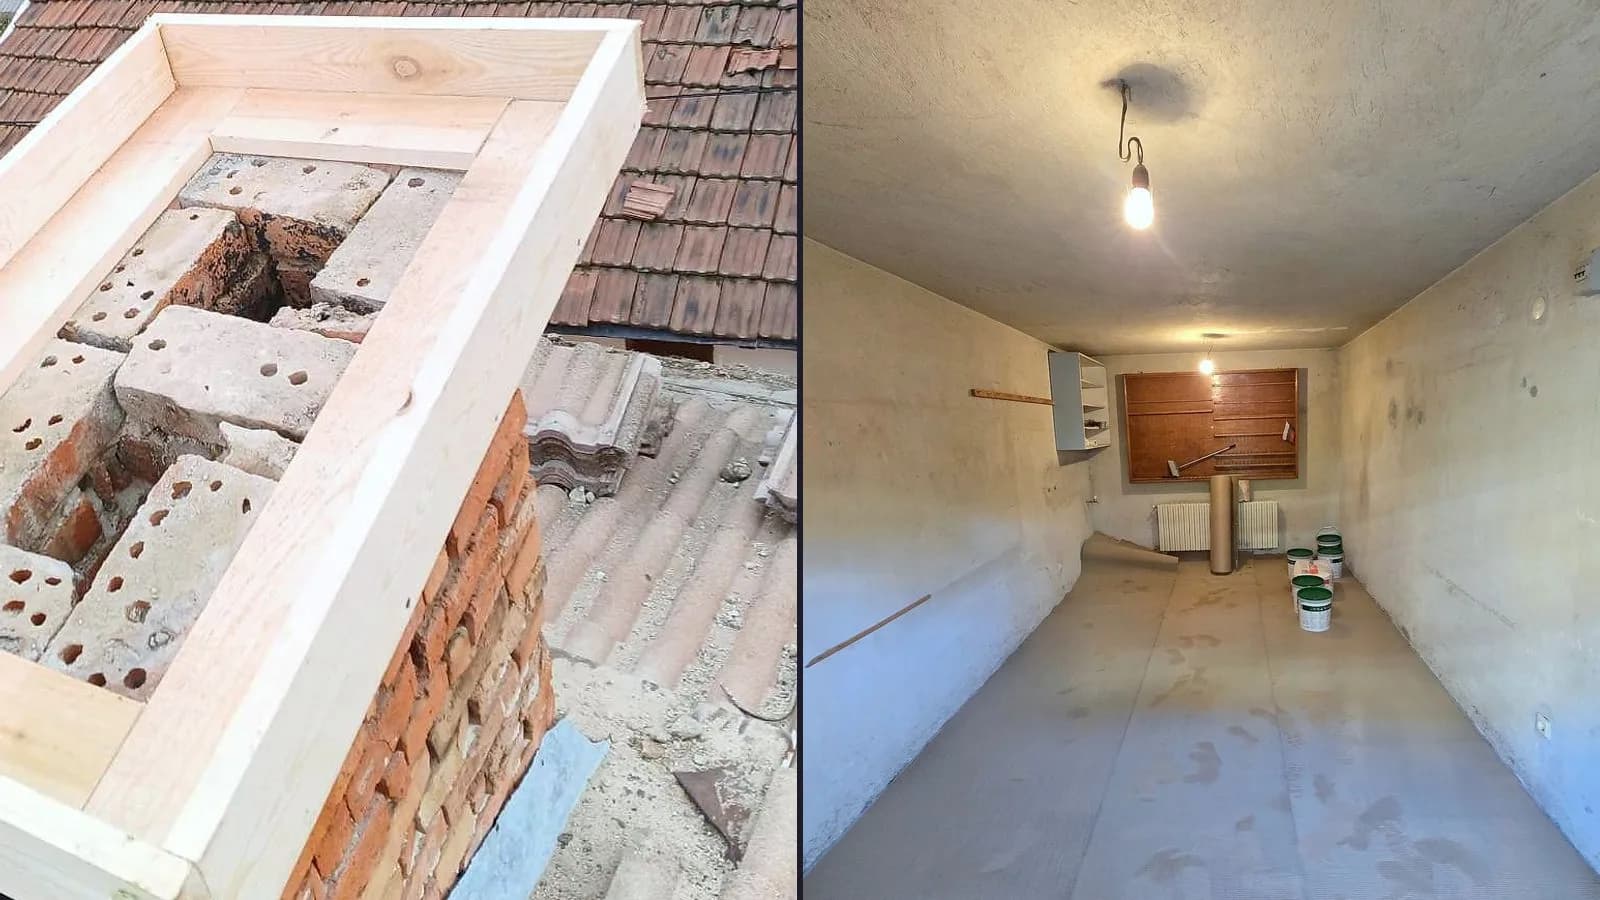 Process
13 min read
Concrete repair cost: €60 per m² and how it is done
Concrete repair with us costs €60 per m², and the exact amount depends on how deep the damage goes, the reinforcement, the area and access. Where concrete breaks down, how it is repaired and when an engineer comes first.
Read